The first step is your personal account. Then you create the company — that's where your experiences, bookings and shop live. One account can belong to several companies.
Create your account#
Sign up
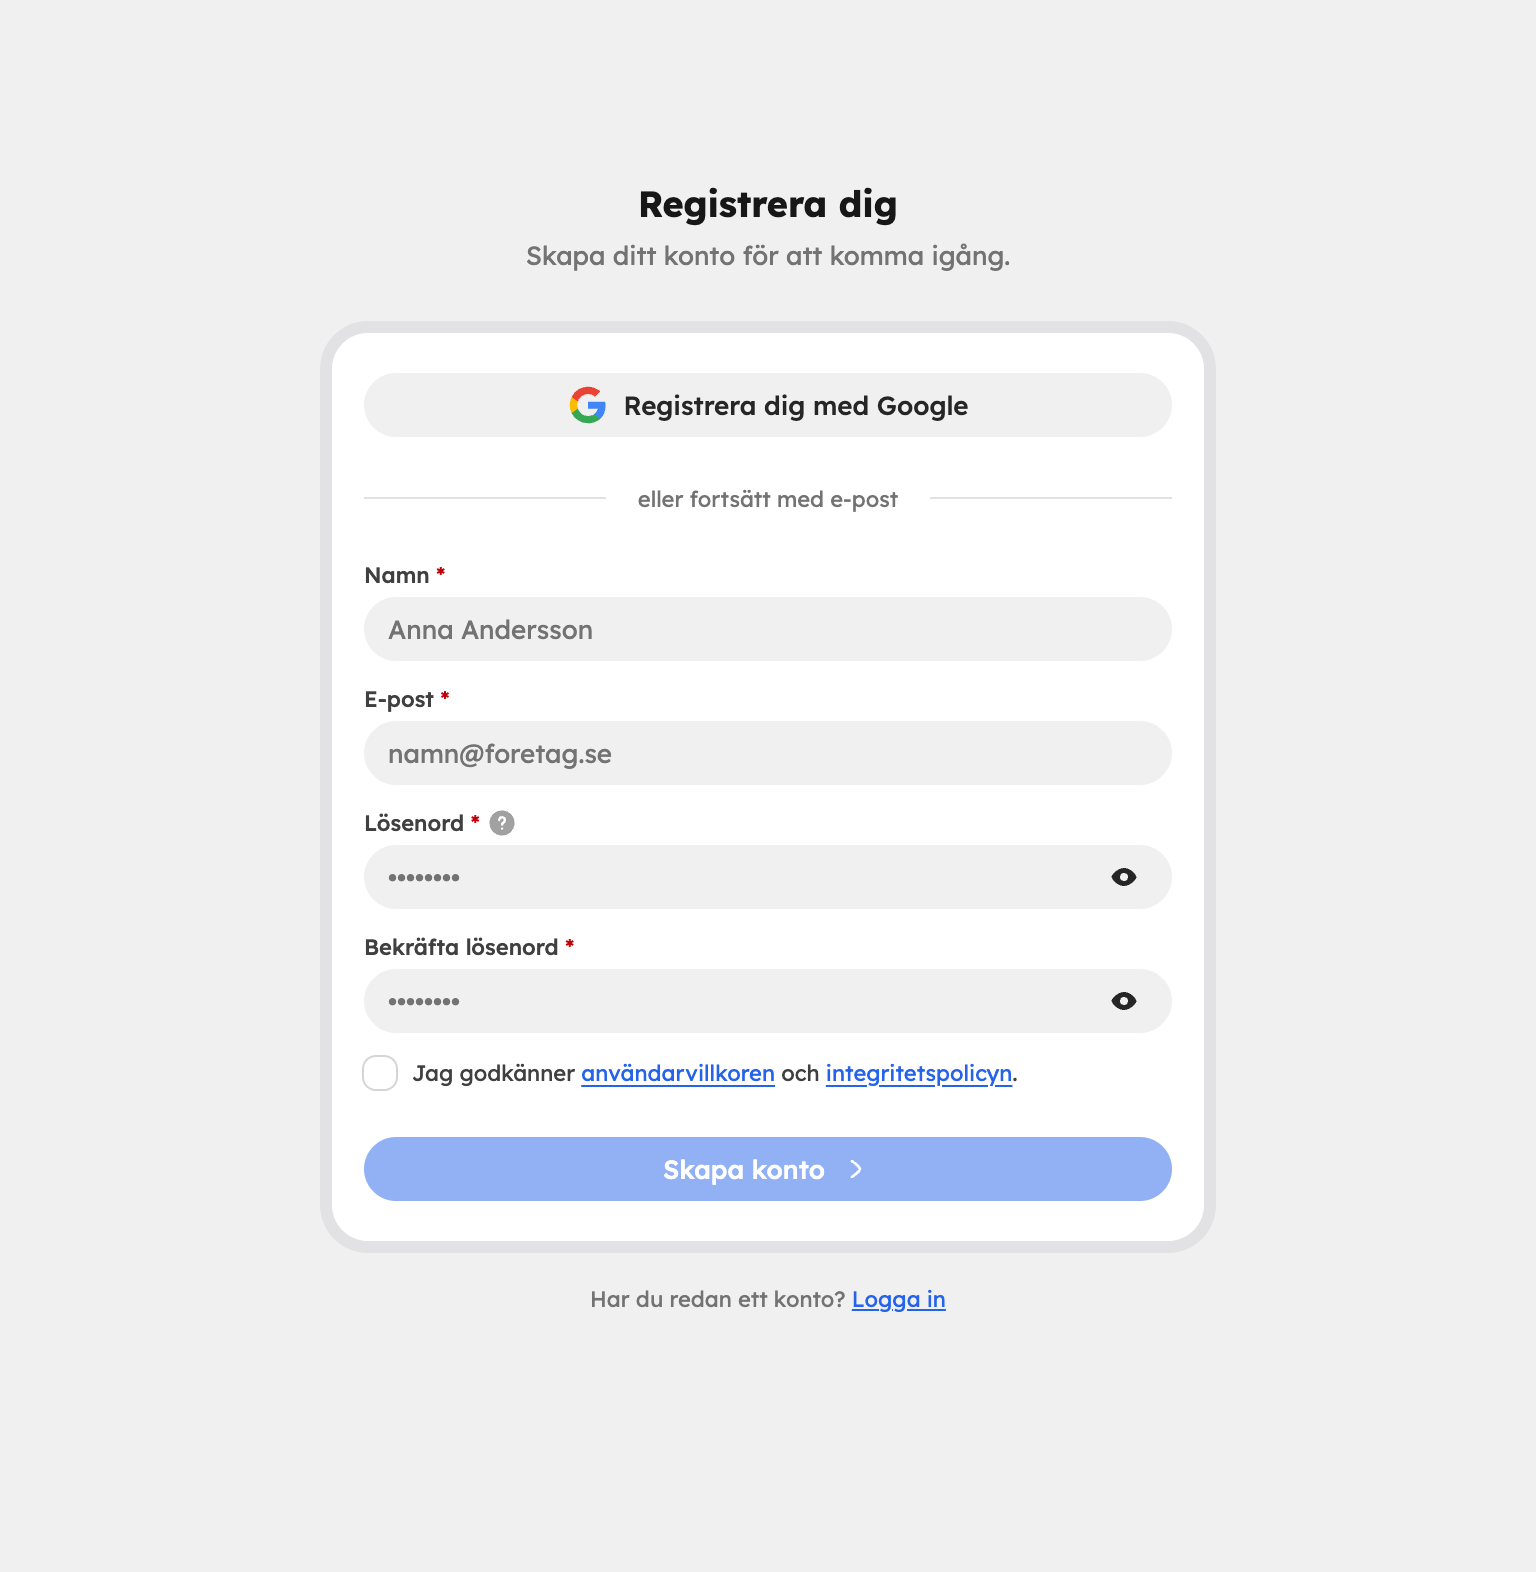
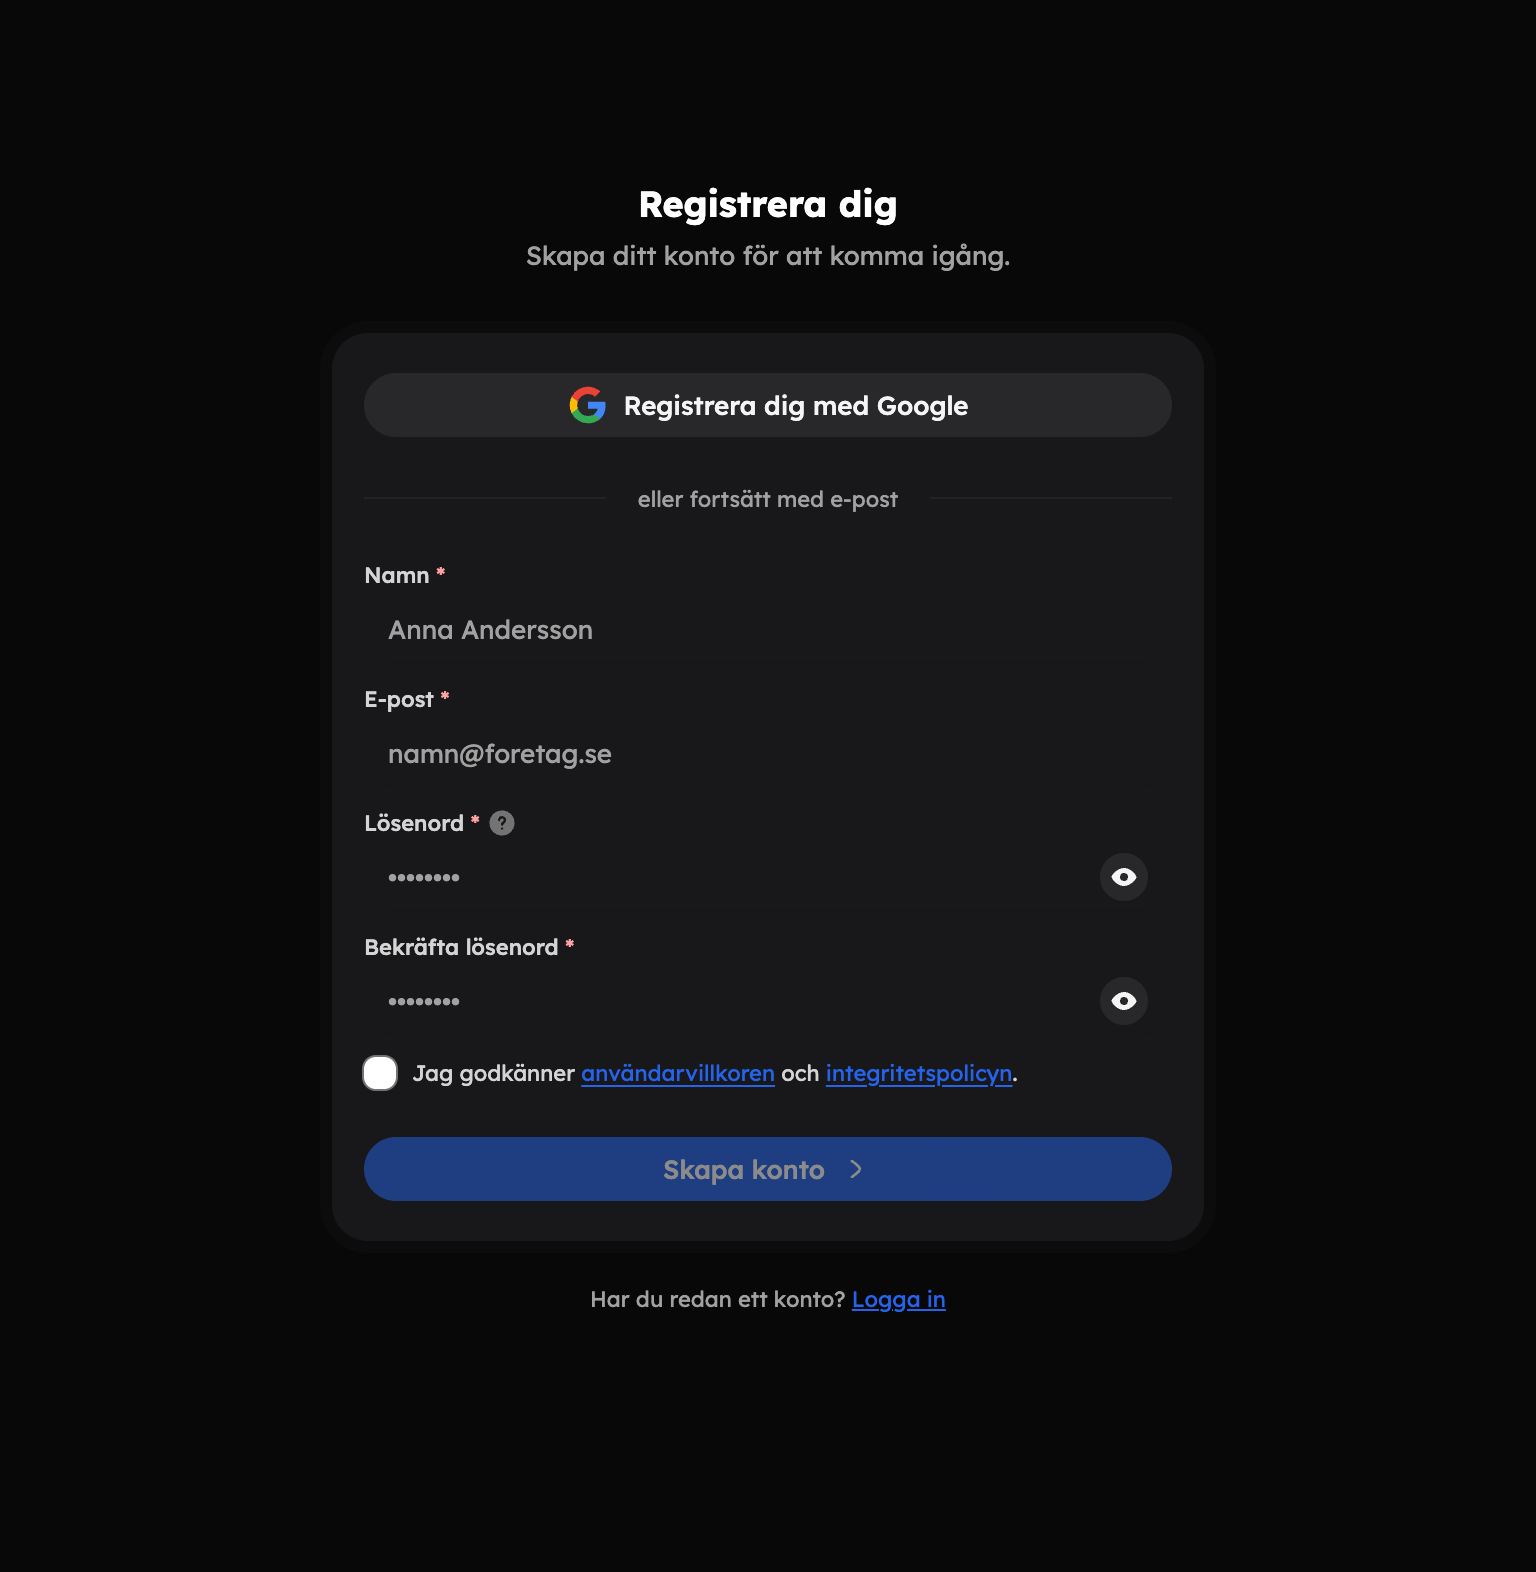
Go to the sign-up page and enter your email and a password, or choose Sign up with Google. The password must be at least 10 characters long and include lower-case letters, upper-case letters and numbers.
Accept the terms
Tick the box to accept the terms of use and the privacy policy, and click Create account. You're signed in straight away and taken on to creating your company.
Confirm your email
At the same time, we send you a confirmation email. Click the link in the email when it suits you — it's valid for 48 hours. If you can't find it, check your spam folder.
Until your email address is confirmed, you can't invite colleagues, send your own emails to customers (individual emails, bulk emails or messages to the guests on a date) or publish flows that send email. If you sign up with Google, your address is confirmed straight away.
Protect your account with two-step verification#
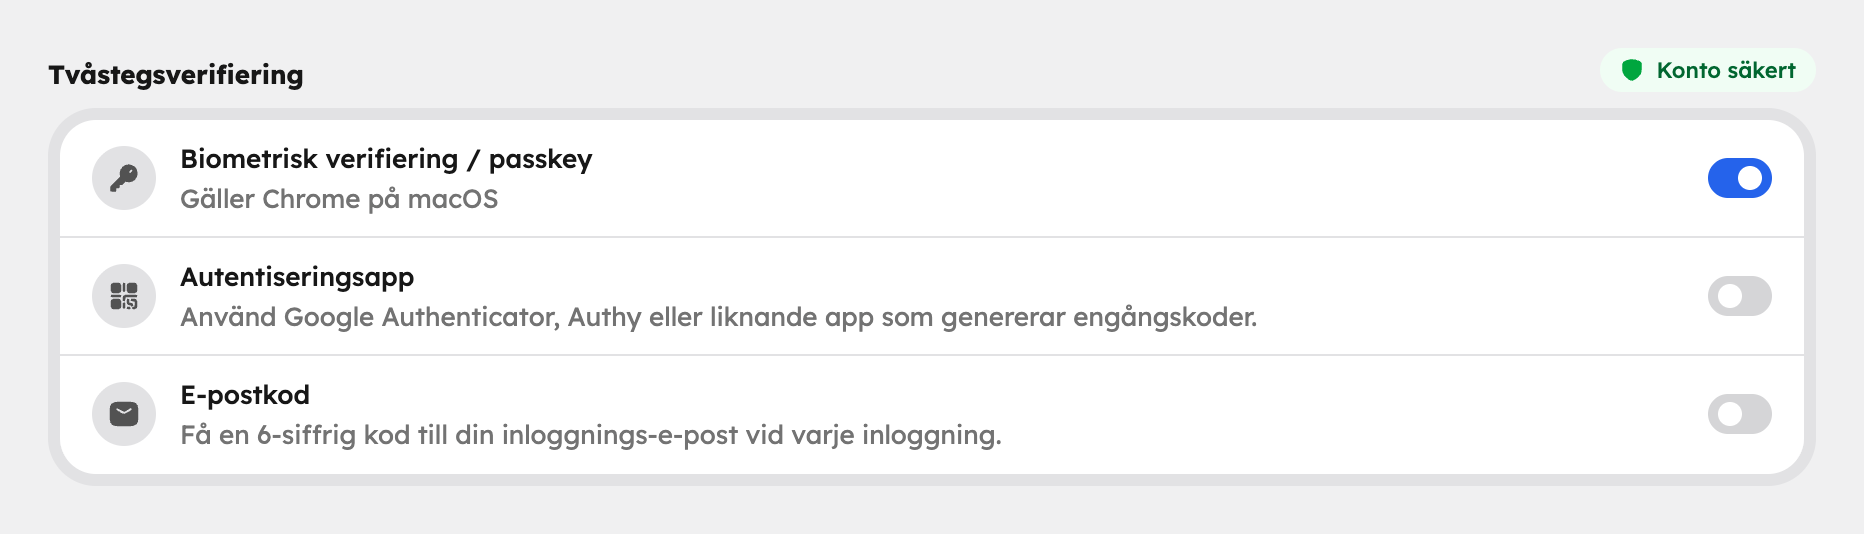
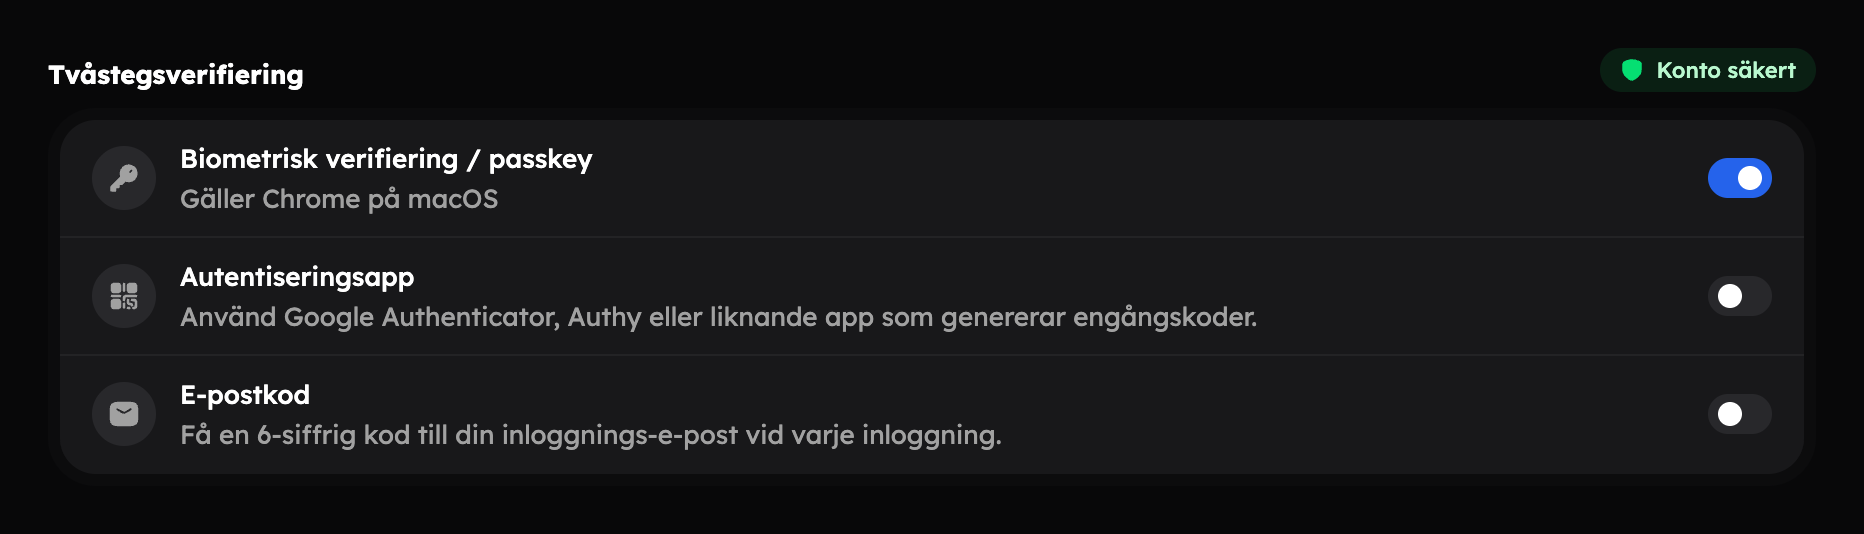
We strongly recommend turning on two-step verification. If you haven't, Awrora reminds you after a couple of days — you can put the reminder off, but it will come back. You choose how you want to verify yourself, and you can have several methods active at the same time:
- Authenticator app — for example Google Authenticator or Authy.
- Biometric verification / passkey — Face ID, Touch ID, Windows Hello or a security key.
- Email code — a one-time code sent to your sign-in address.
Read more in Sign-in and security.
Create your company#
Once your account is ready, you create your company. The guide has four steps, and you can move back and forth between them without losing what you've filled in. The company is only created when you choose a plan in the last step.
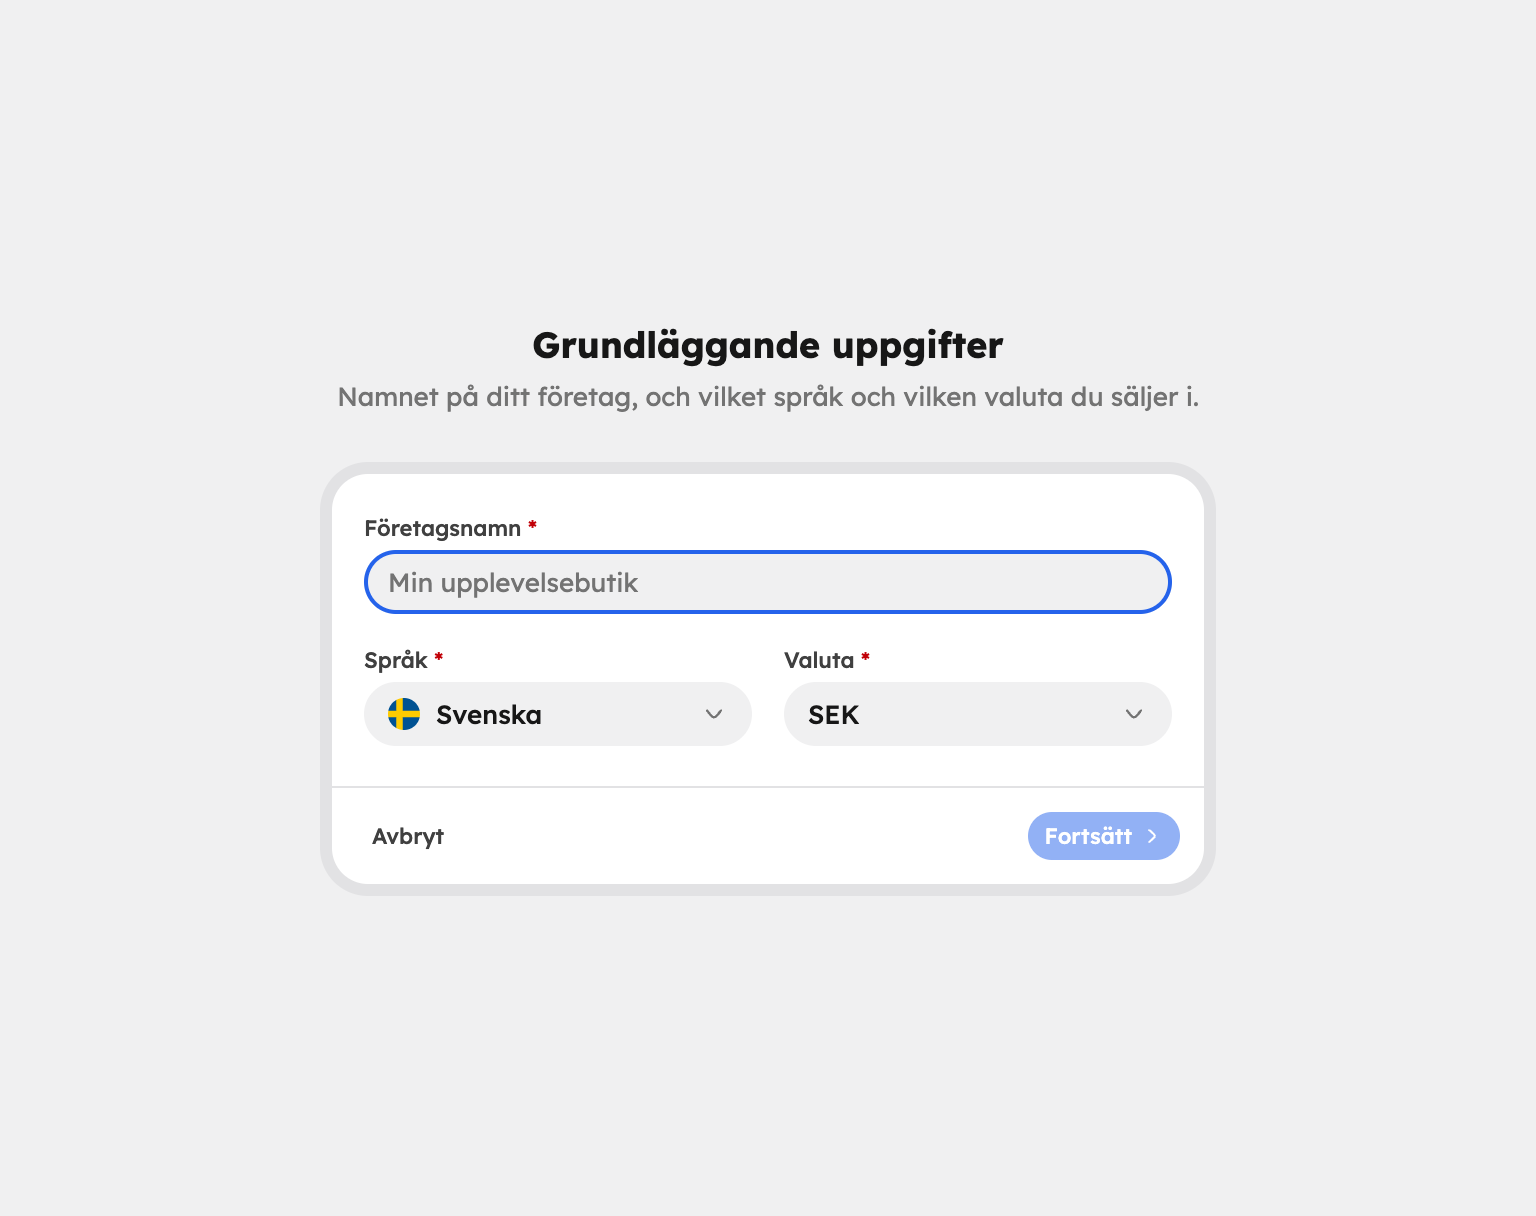
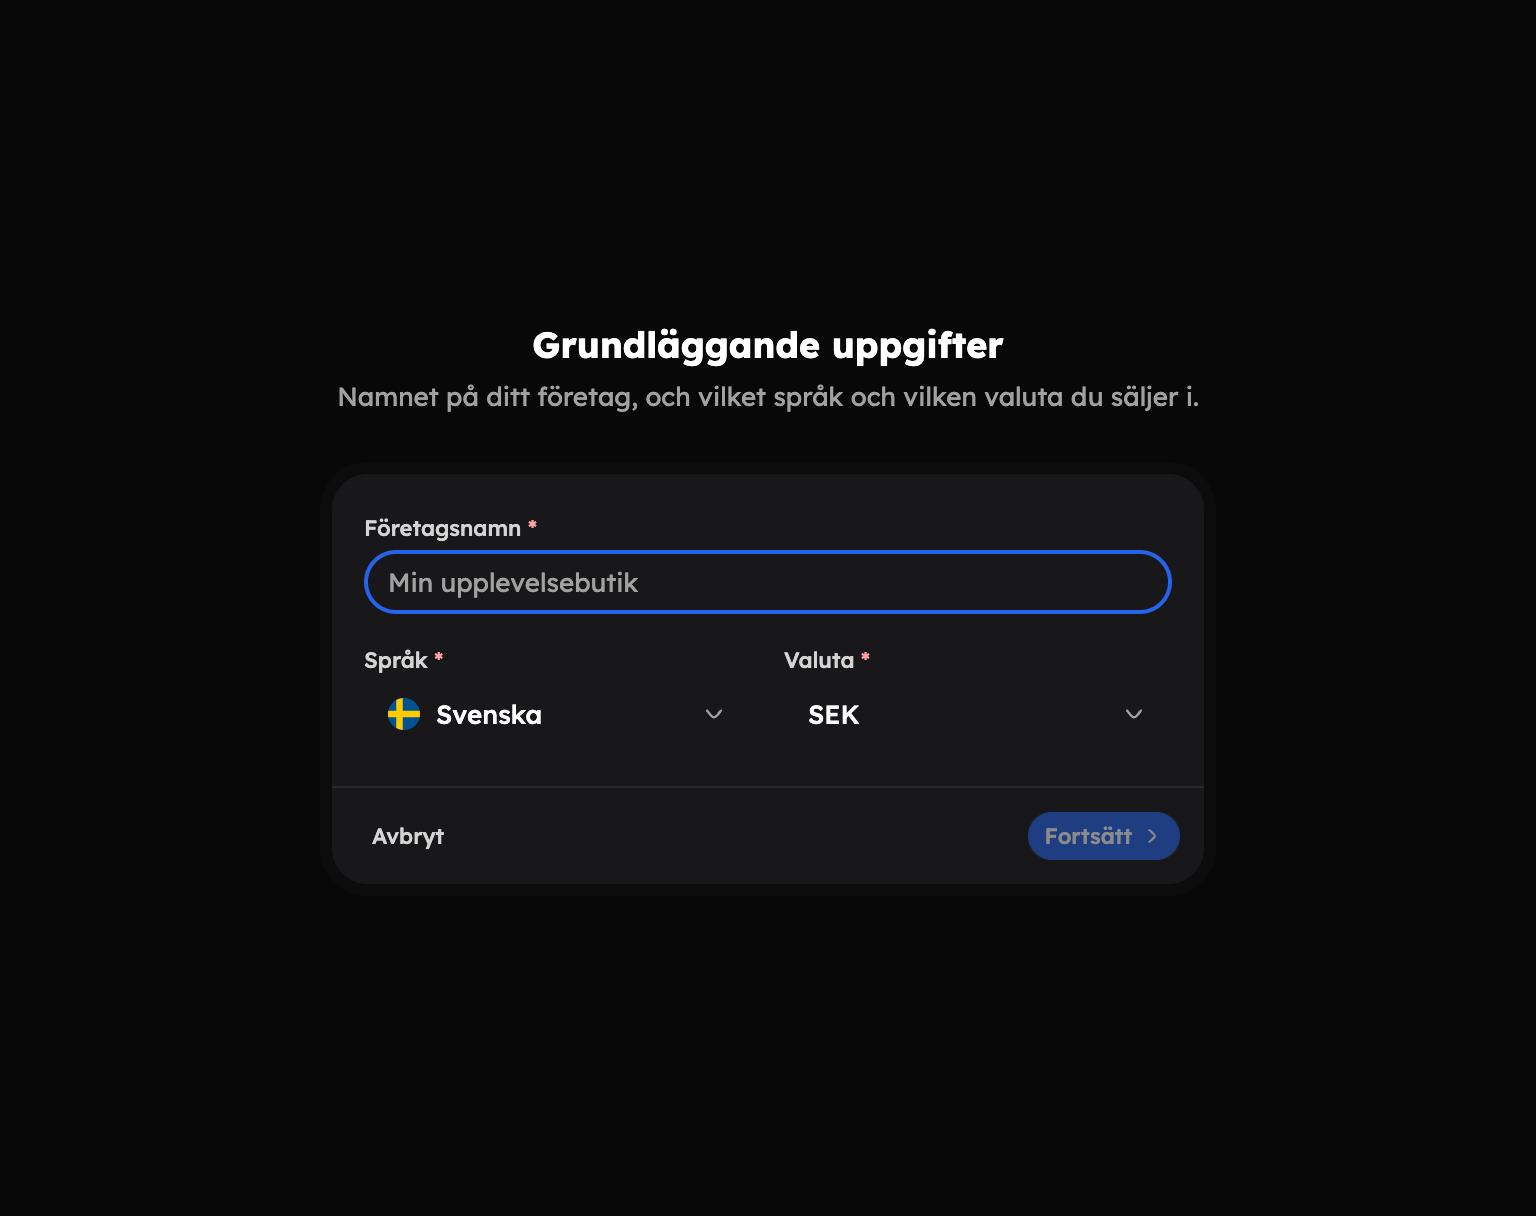
Basic details
Enter the company name and the languages and currencies you sell in. The first language and the first currency become your base.
Which features do you want?
Choose from Gift cards, Add-ons, Reviews, Staff and Agencies. Not sure? Skip it — everything can be turned on later under SettingsApps.
Where do you want to sell?
Choose Shop in Awrora (a ready-made website where customers book directly), Our existing website (the booking is embedded on your current site) or both.
Choose a plan
Choose Monthly or Yearly (two months free) and click Get started under the plan you want — that's when the company is created. If you choose a paid plan, you pay straight afterwards; if you cancel, the company stays on Free. The Free plan has no time limit, so you can start there and upgrade whenever you like.
The getting started guide on Home#
Once the company has been created, you land on Home. There you'll find the Get started with Awrora checklist with the steps up to your first booking: create an experience, add dates, accept payments, give the shop your look and get your first booking. The steps tick themselves off once they're done, and for most of them you can ask Aurora for help. Below the checklist there are also a few optional steps, such as a custom domain and inviting your team.
If you don't want to see the guide, you can hide it for the whole company with the cross. You bring it back with Show the getting started guide.
Next step#
Now it's time to add what you sell: Your first experience.
Want to compare the plans first? See Plans and billing. More people in the team joining? See Team and roles.