The shop is your website in Awrora — where customers find your experiences, choose a date and pay. It exists from the start with its own Awrora address. This step is about making it yours and making sure everything works before you share the link.
The shop is a sales channel. If you chose Shop in Awrora when you created the company, it's already switched on. Otherwise, switch it on under SettingsSales channels.
Find your shop#
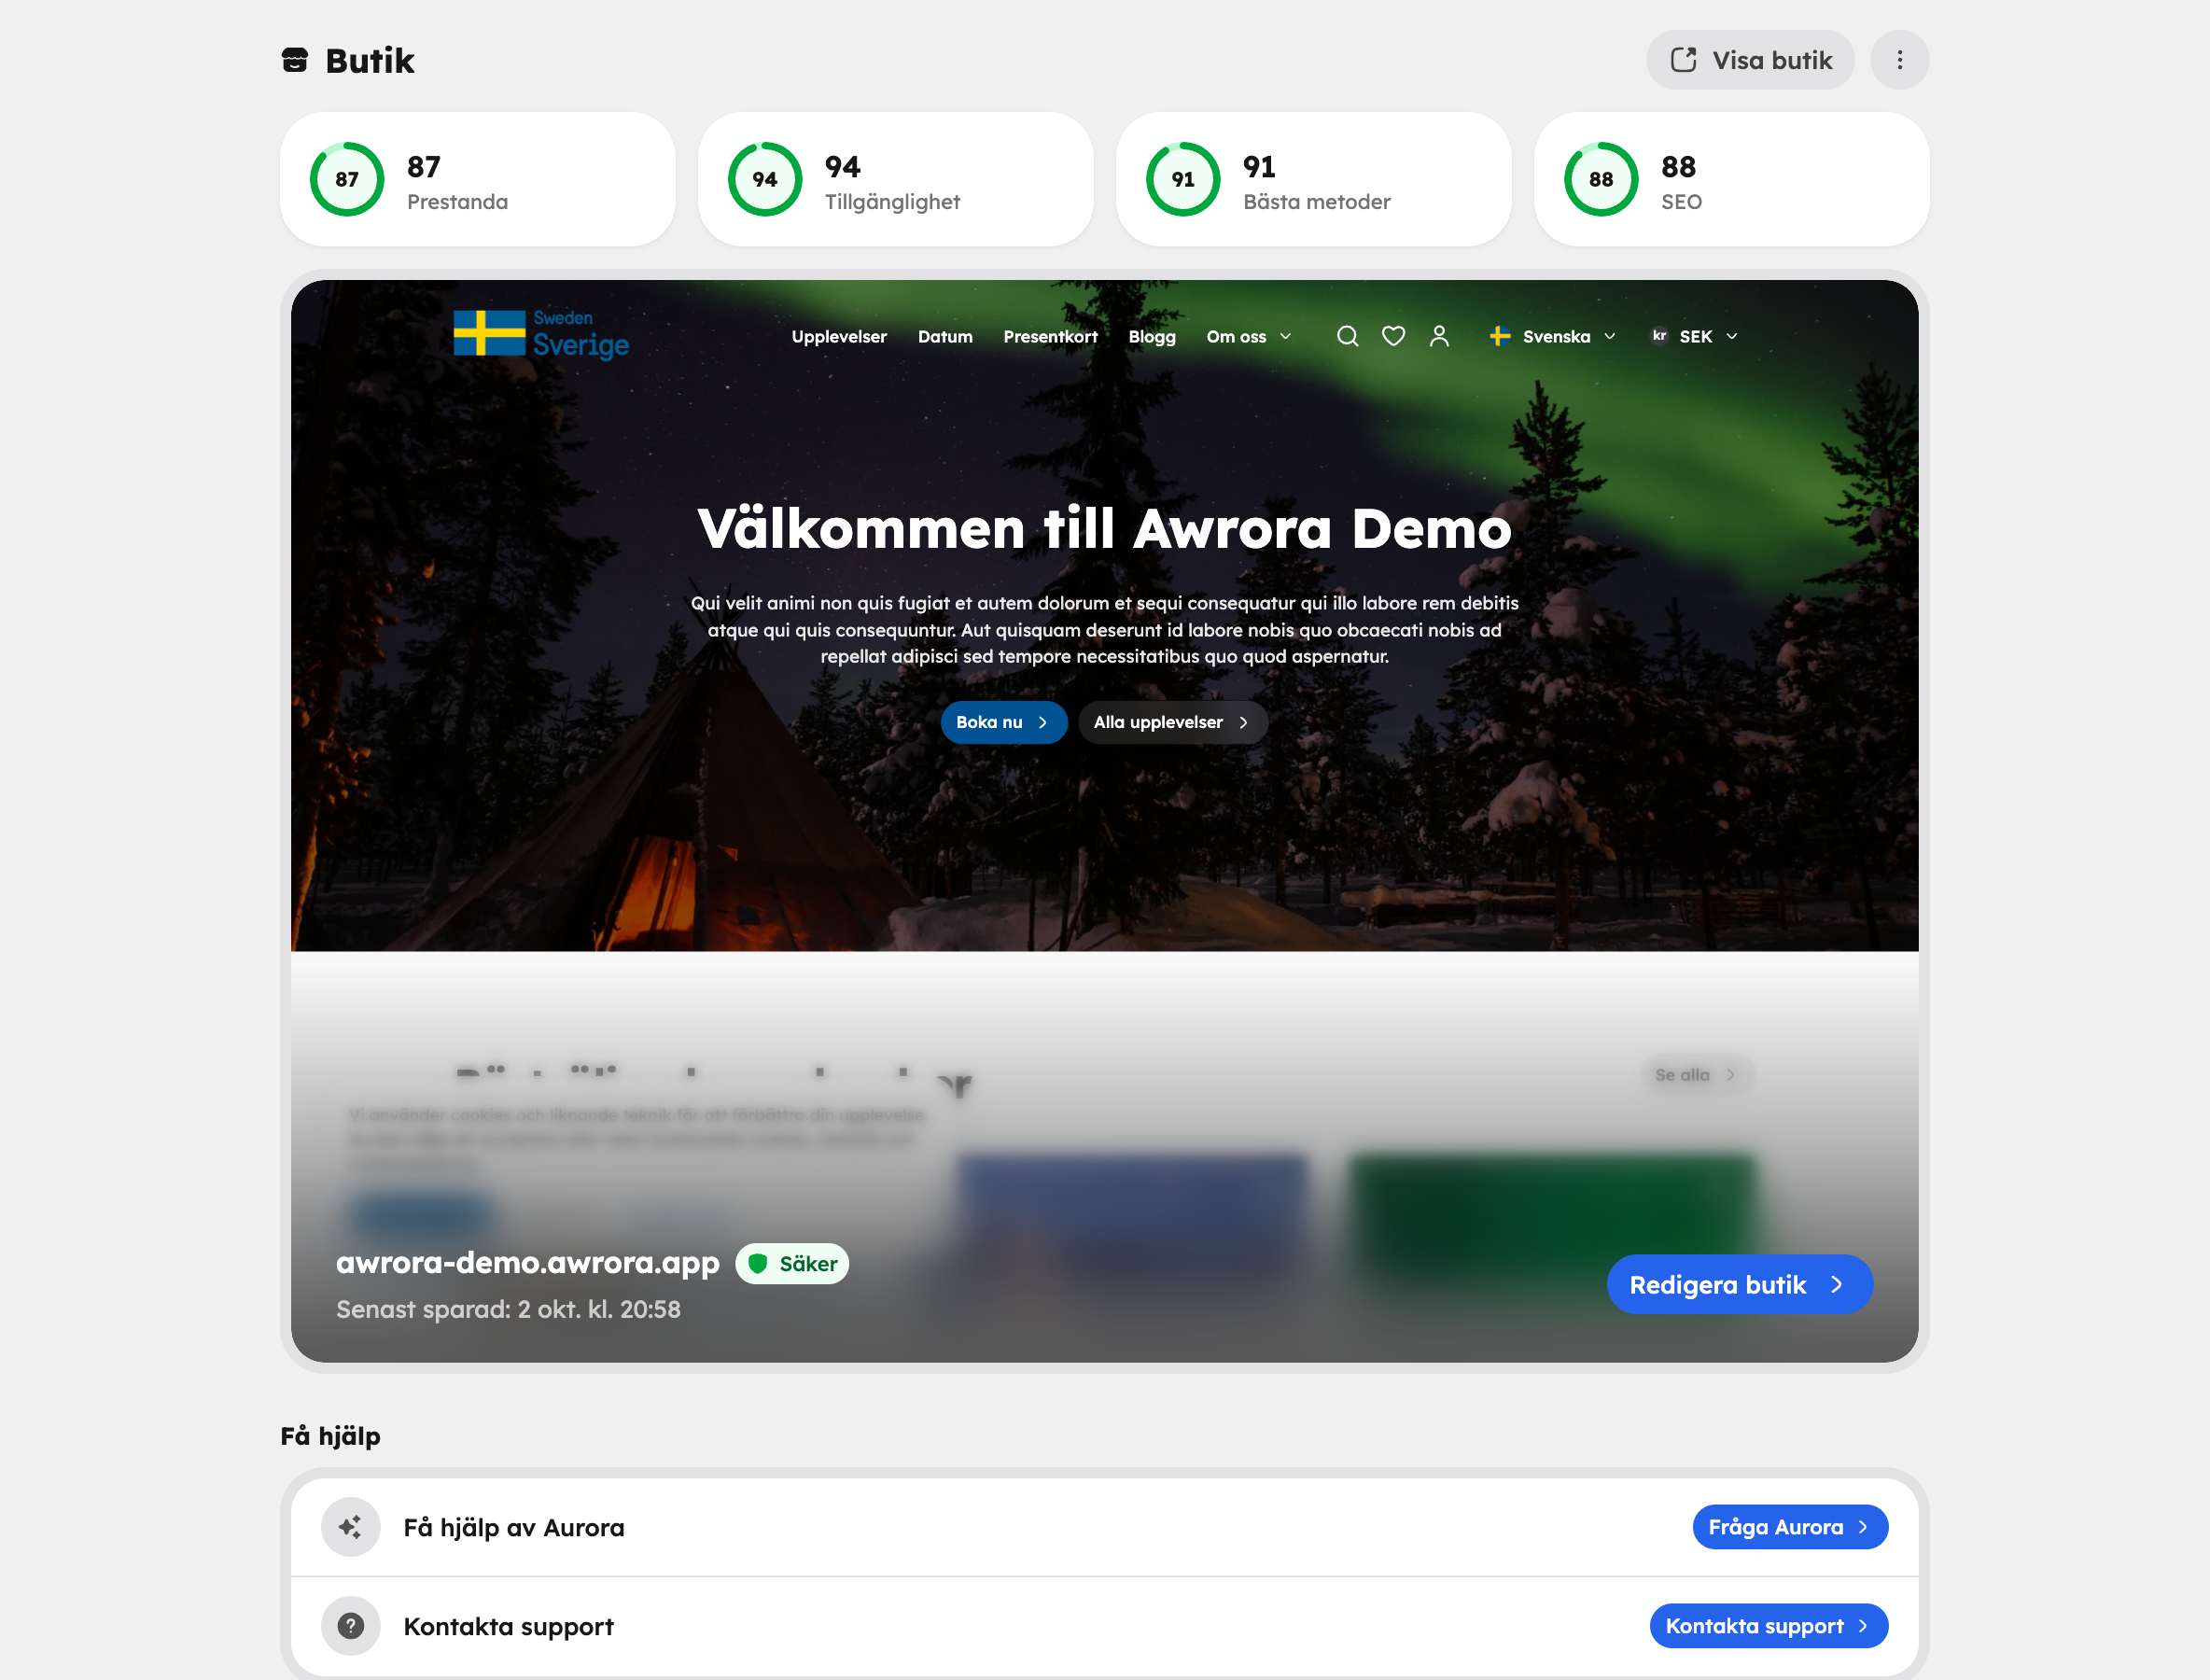
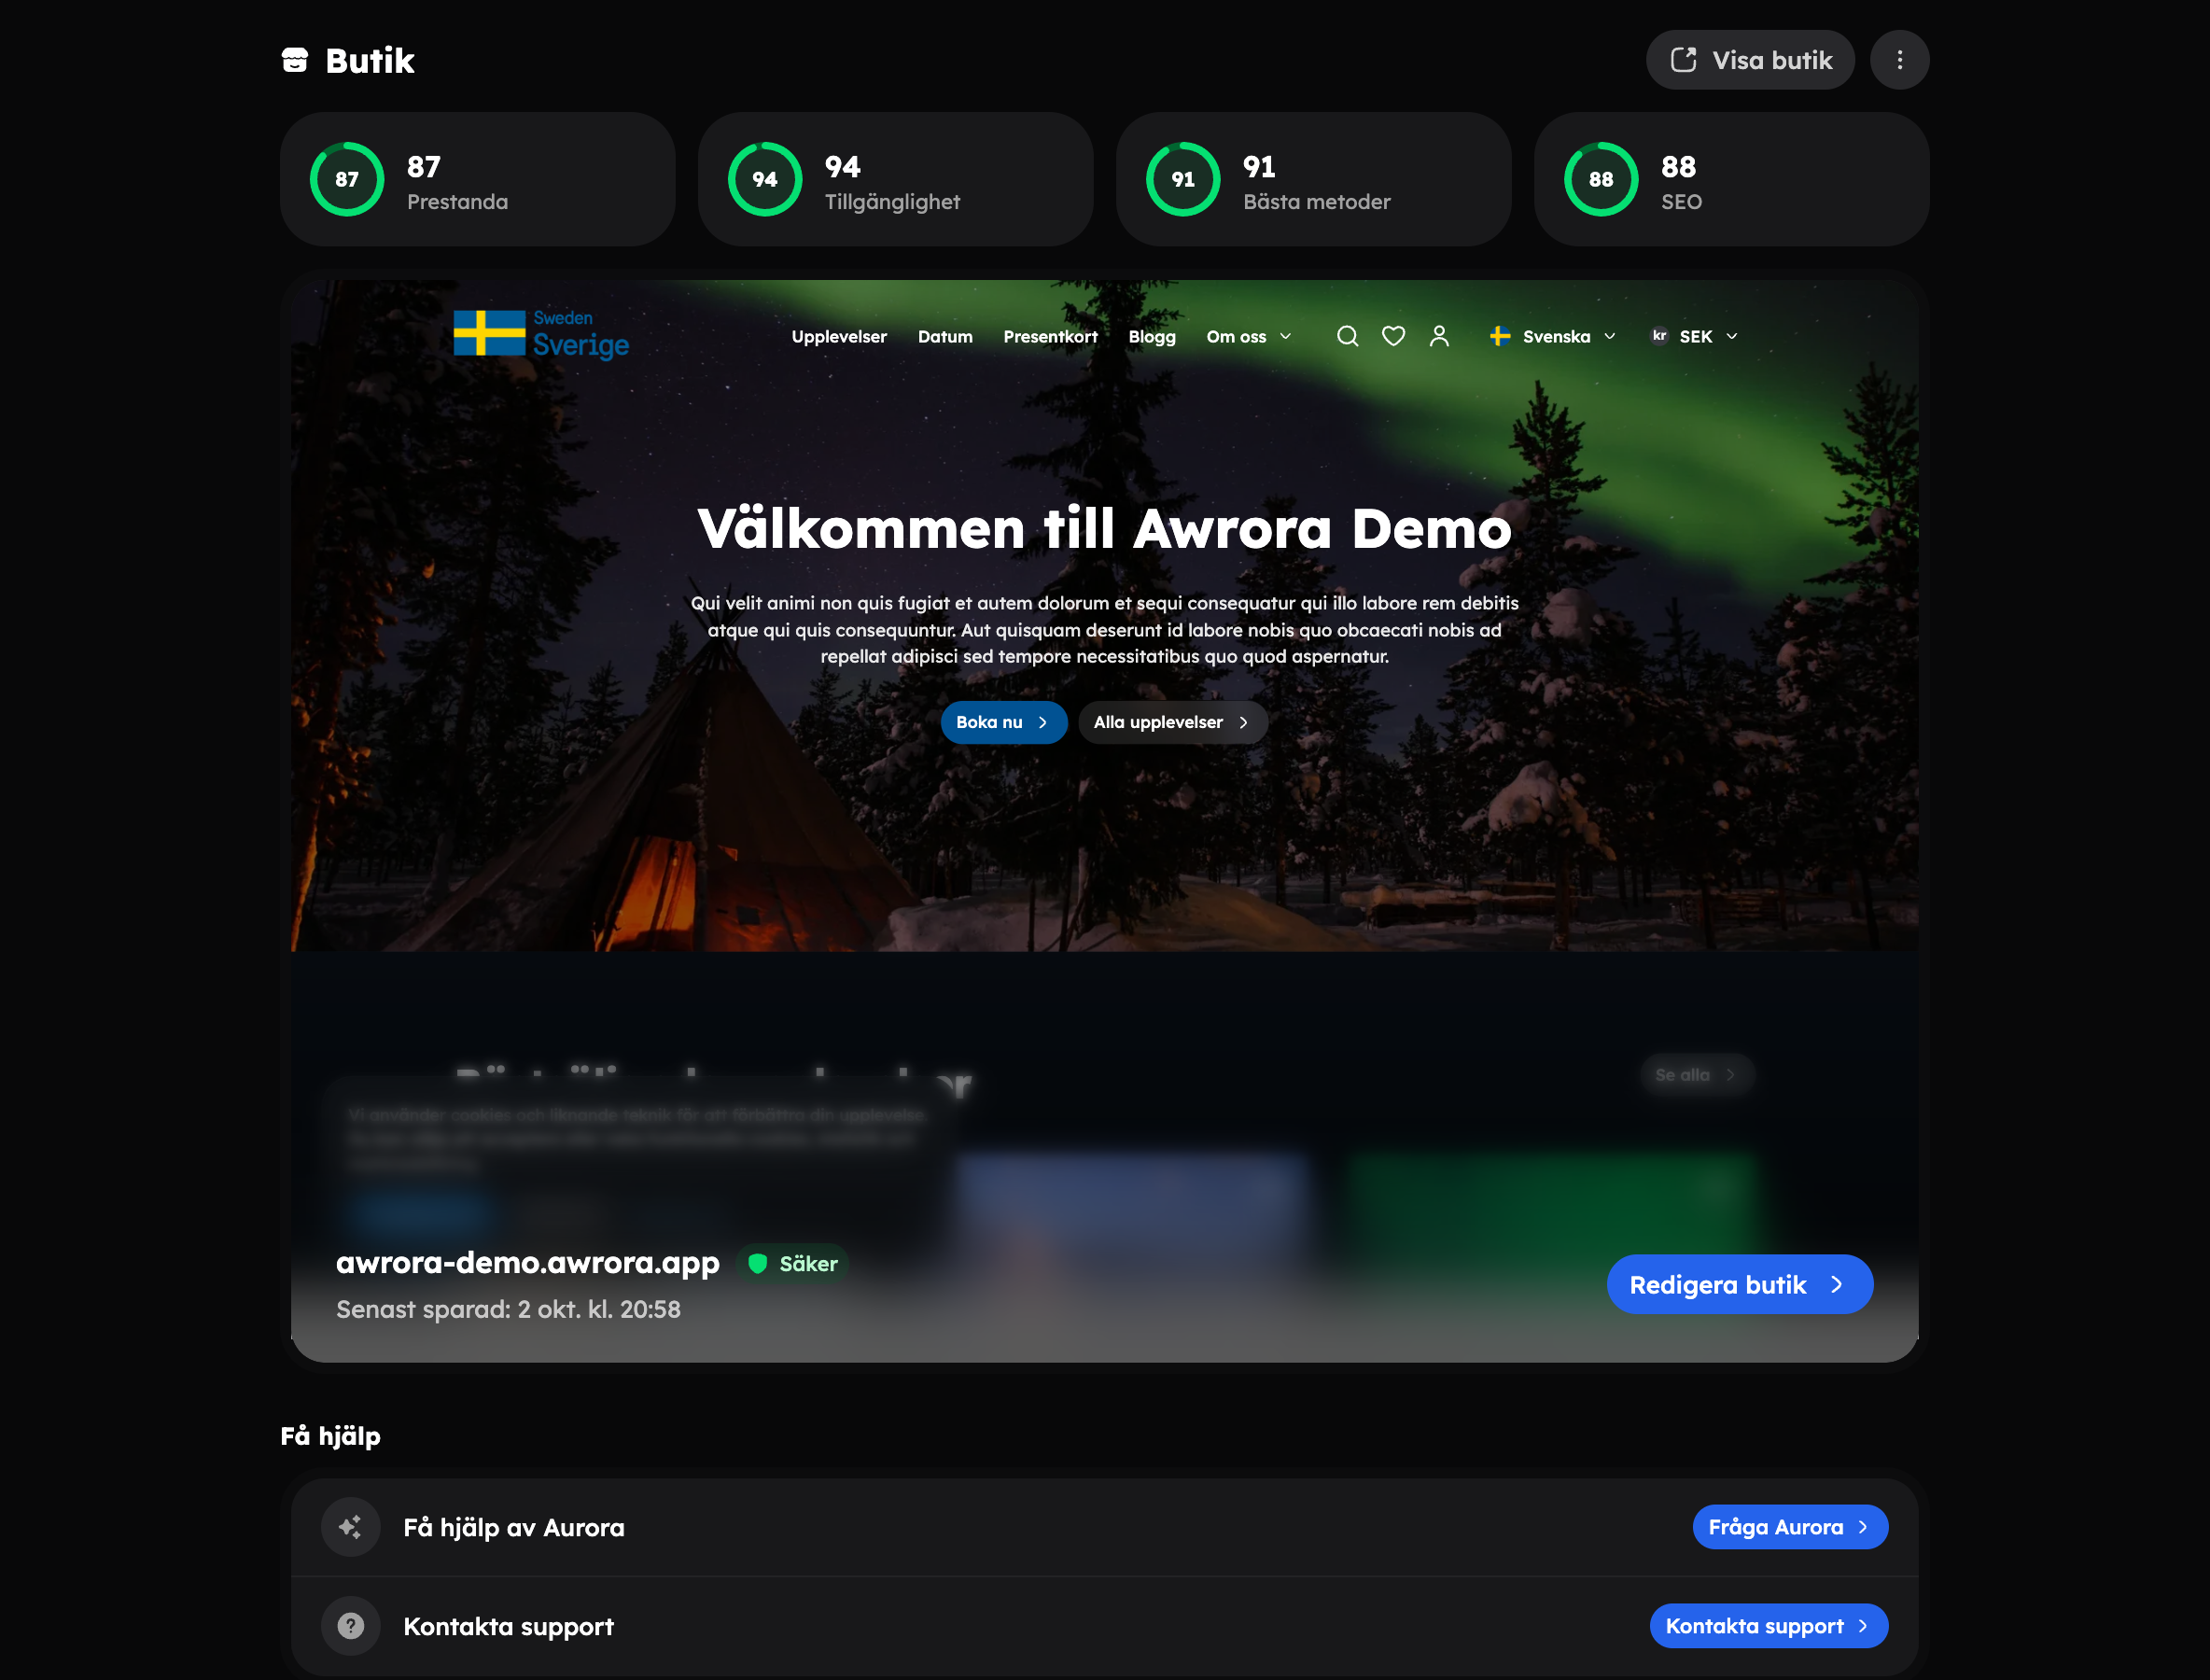
Go to ShopOverview in the menu. There you'll see a thumbnail of the shop's home page and its address. Click View shop to open it. You'll find the link to share under Copy link in the three-dot menu at the top.
Make the shop your own#
You have two options:
- Build it yourself — click Edit shop to open the editor. There you add and arrange sections and see the changes straight away in the preview.
- Get help from Aurora — click Ask Aurora under Get help, tell it about your business and Aurora builds a first draft for you.
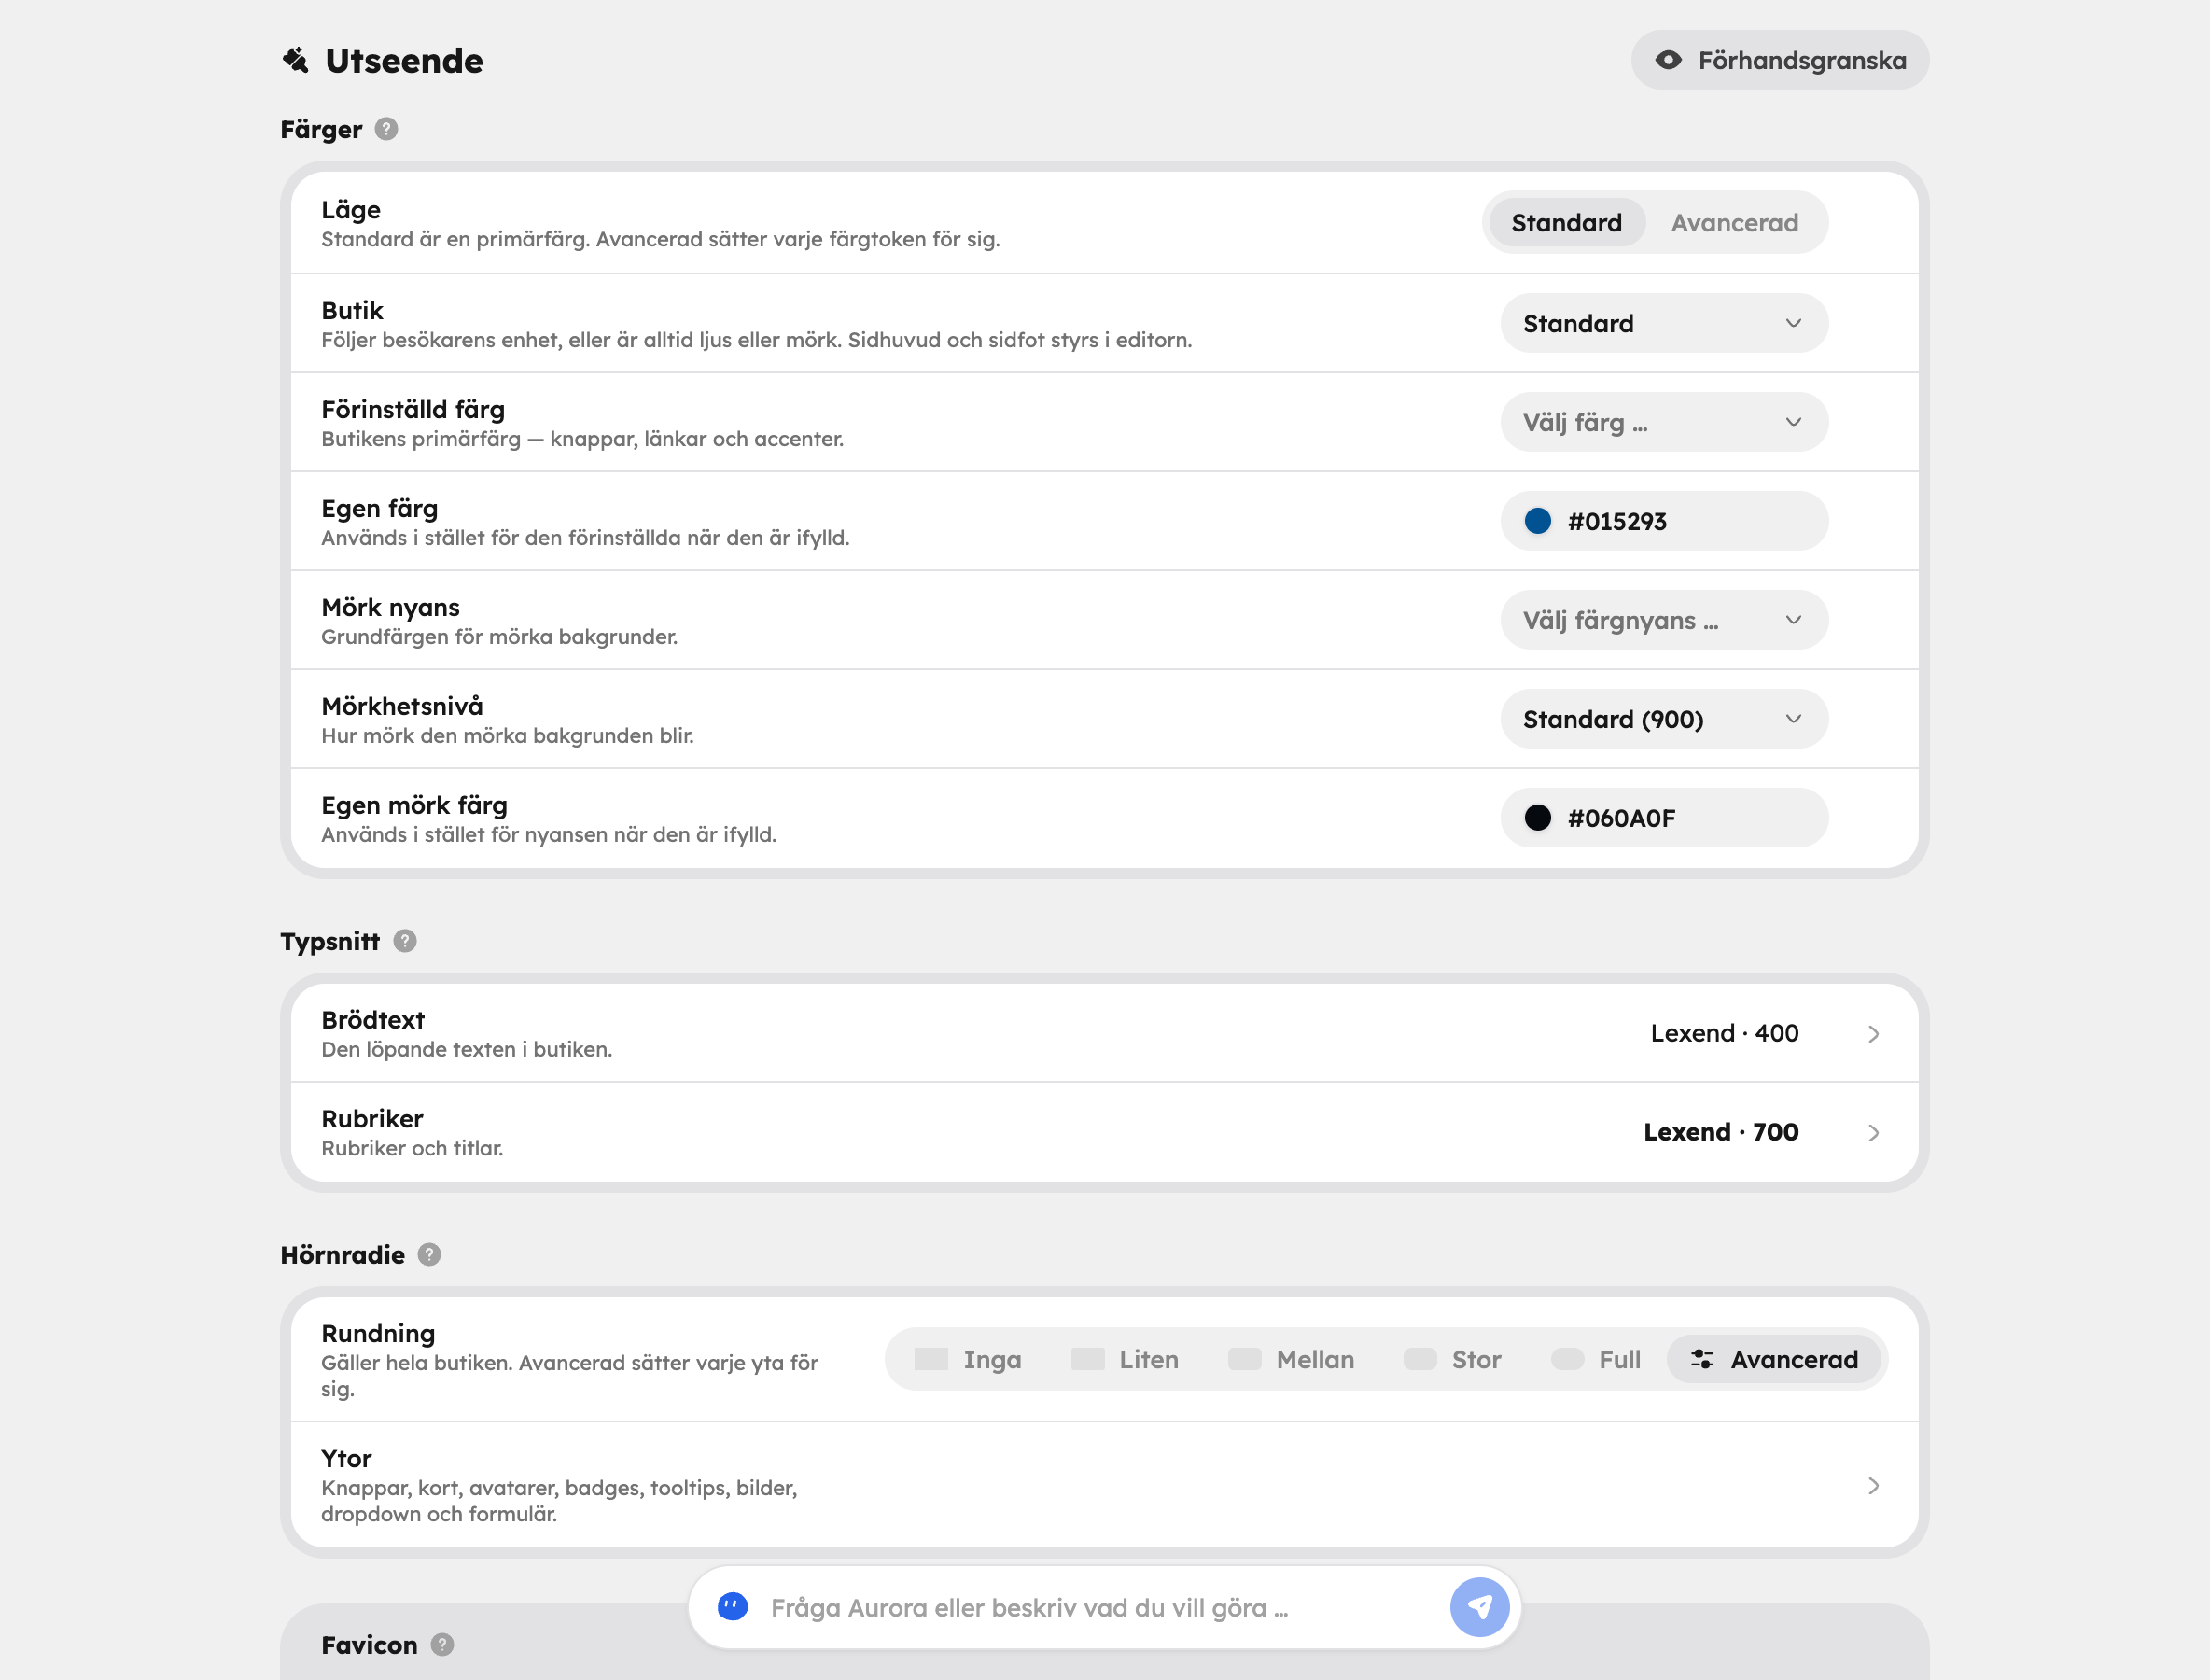
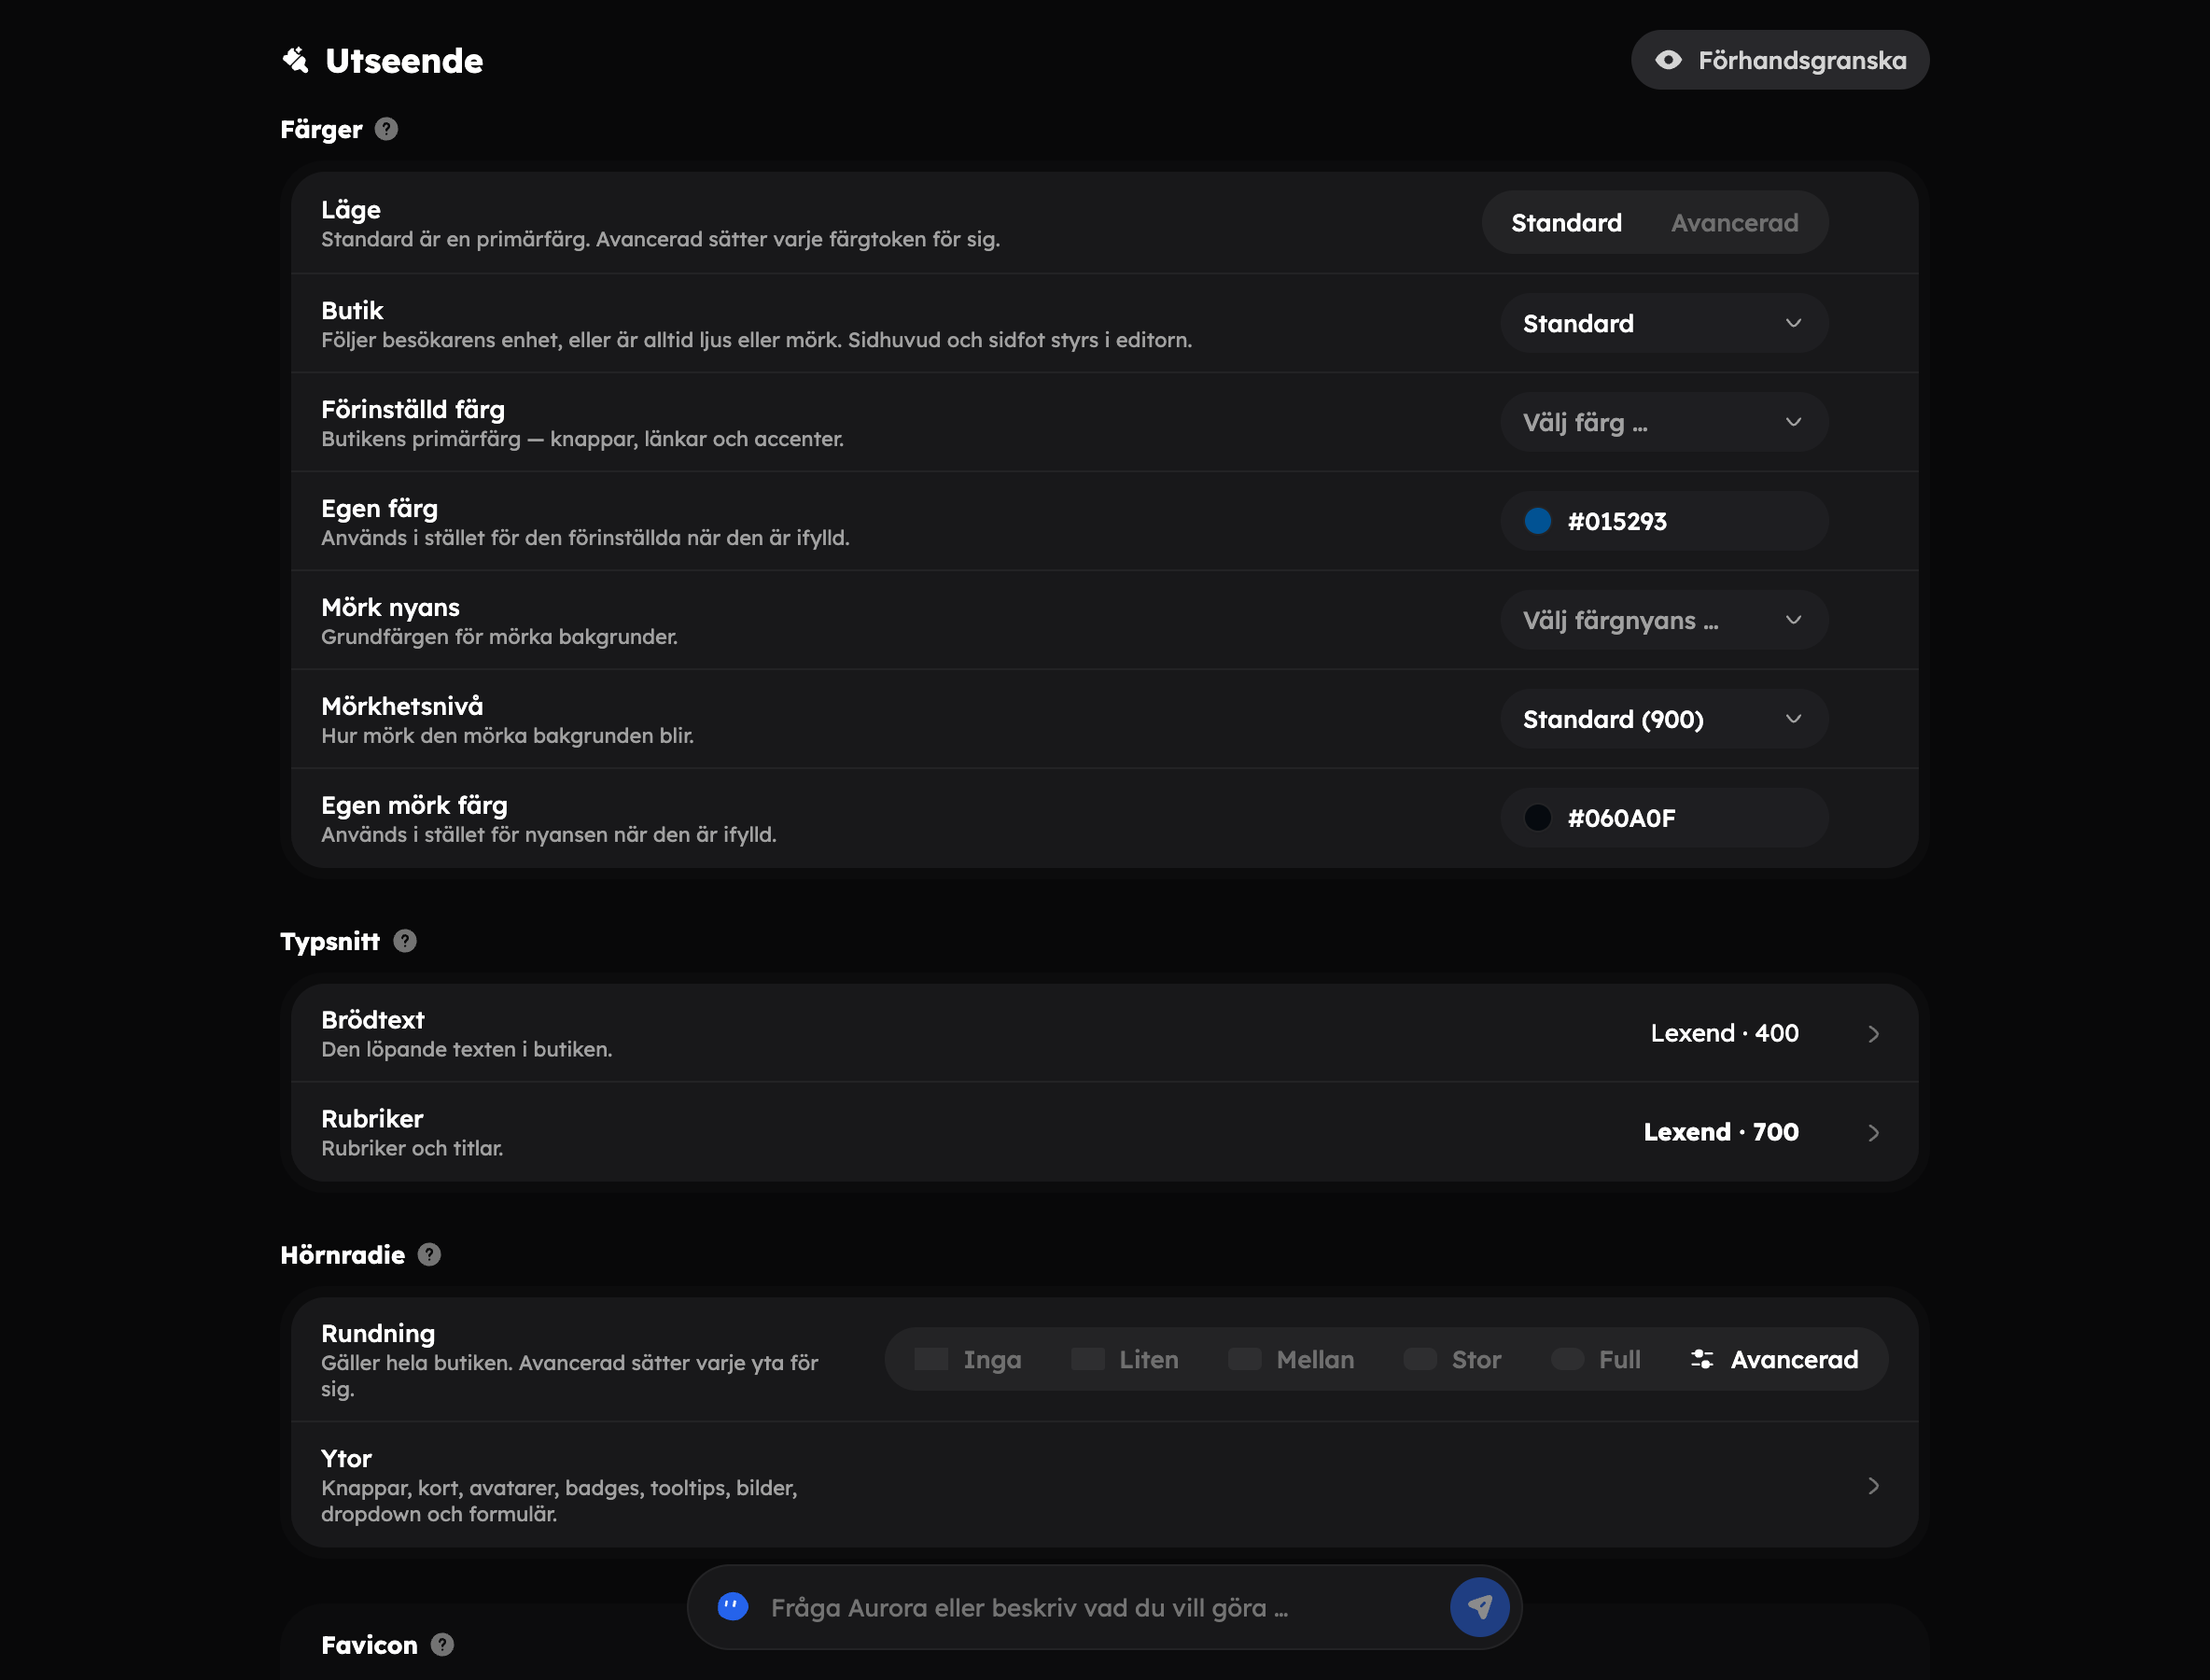
Under ShopAppearance you choose colours, fonts, corner radius, favicon and logo — one for light and one for dark backgrounds — so that the shop feels like your brand. As soon as you've saved a logo or a custom colour, the Give the shop your look step is ticked off in the checklist on Home. Read more in The web editor and Appearance.
Don't want anyone to see the shop while you're building it? Switch on Require a password to visit the shop under ShopSEO. Remember to switch it off before you share the link.
Checklist before you share the link#
The experience is active
Under Experiences the experience should be marked Active. In the editor, the Publishing and SEO row then shows Published. An inactive experience isn't visible and can't be booked.
There are dates to book
The experience needs at least one upcoming date with places available. See The calendar.
Payment works
Check under SettingsCheckout that the payment account is connected and that at least one payment method is switched on, or that Pay on site is switched on — otherwise guests can't complete a booking. See Accept payments.
The terms are in place
Terms of purchase, cancellation policy and privacy policy are already filled in from templates. Go through them and adapt them to your company under SettingsLegal. Published policies are linked automatically at checkout.
The shop isn't locked
If you switched on password protection under ShopSEO, switch it off now.
Test it as a customer
Open the shop with View shop, choose an experience and go all the way to checkout. There's no test mode. If you want to complete a booking without paying by card, you can switch on Pay on site under SettingsCheckout. Cancel the test booking under Bookings afterwards.
Your own domain#
The shop works straight away on its Awrora address. If you'd rather use your own domain, for example book.yourcompany.com, add it under ShopDomain. There you'll get instructions for the DNS settings at your domain provider. Read more in Domains and SEO.
Several languages#
If you sell in several languages, you publish each language under SettingsLanguages. A language that's still a draft isn't visible to customers yet. See Languages and currencies.
Already have a website?#
You can also embed the booking on the website you already have, with or without the shop in Awrora. You'll find the embed code under Sales channelsIframe. See Embedding.
Done!#
Share the link to the shop in your channels — on social media, in newsletters or on your business card. When the first real booking comes in, the last step is ticked off in the checklist on Home, and you'll find the booking under Bookings. Read on in Bookings and calendar.