An experience is what you sell — a tour, a course, an event. Here you add your first one, set a price and create the dates it runs. Everything is edited on one single page, from top to bottom.
Already have a description, for example on your current website? Ask Aurora on Home to create the experience. It's created as an inactive draft that you then go through and adjust here.
Create the experience#
Open Experiences
Go to Experiences in the menu and click New experience.
Give it a name
Fill in Name. A Slug — the part of the web address that points to the experience — is suggested automatically. Feel free to add an Image straight away.
Leave it inactive
Leave Publication status set to Inactive while you work on the content. That way customers can't see it. Click Create experience.
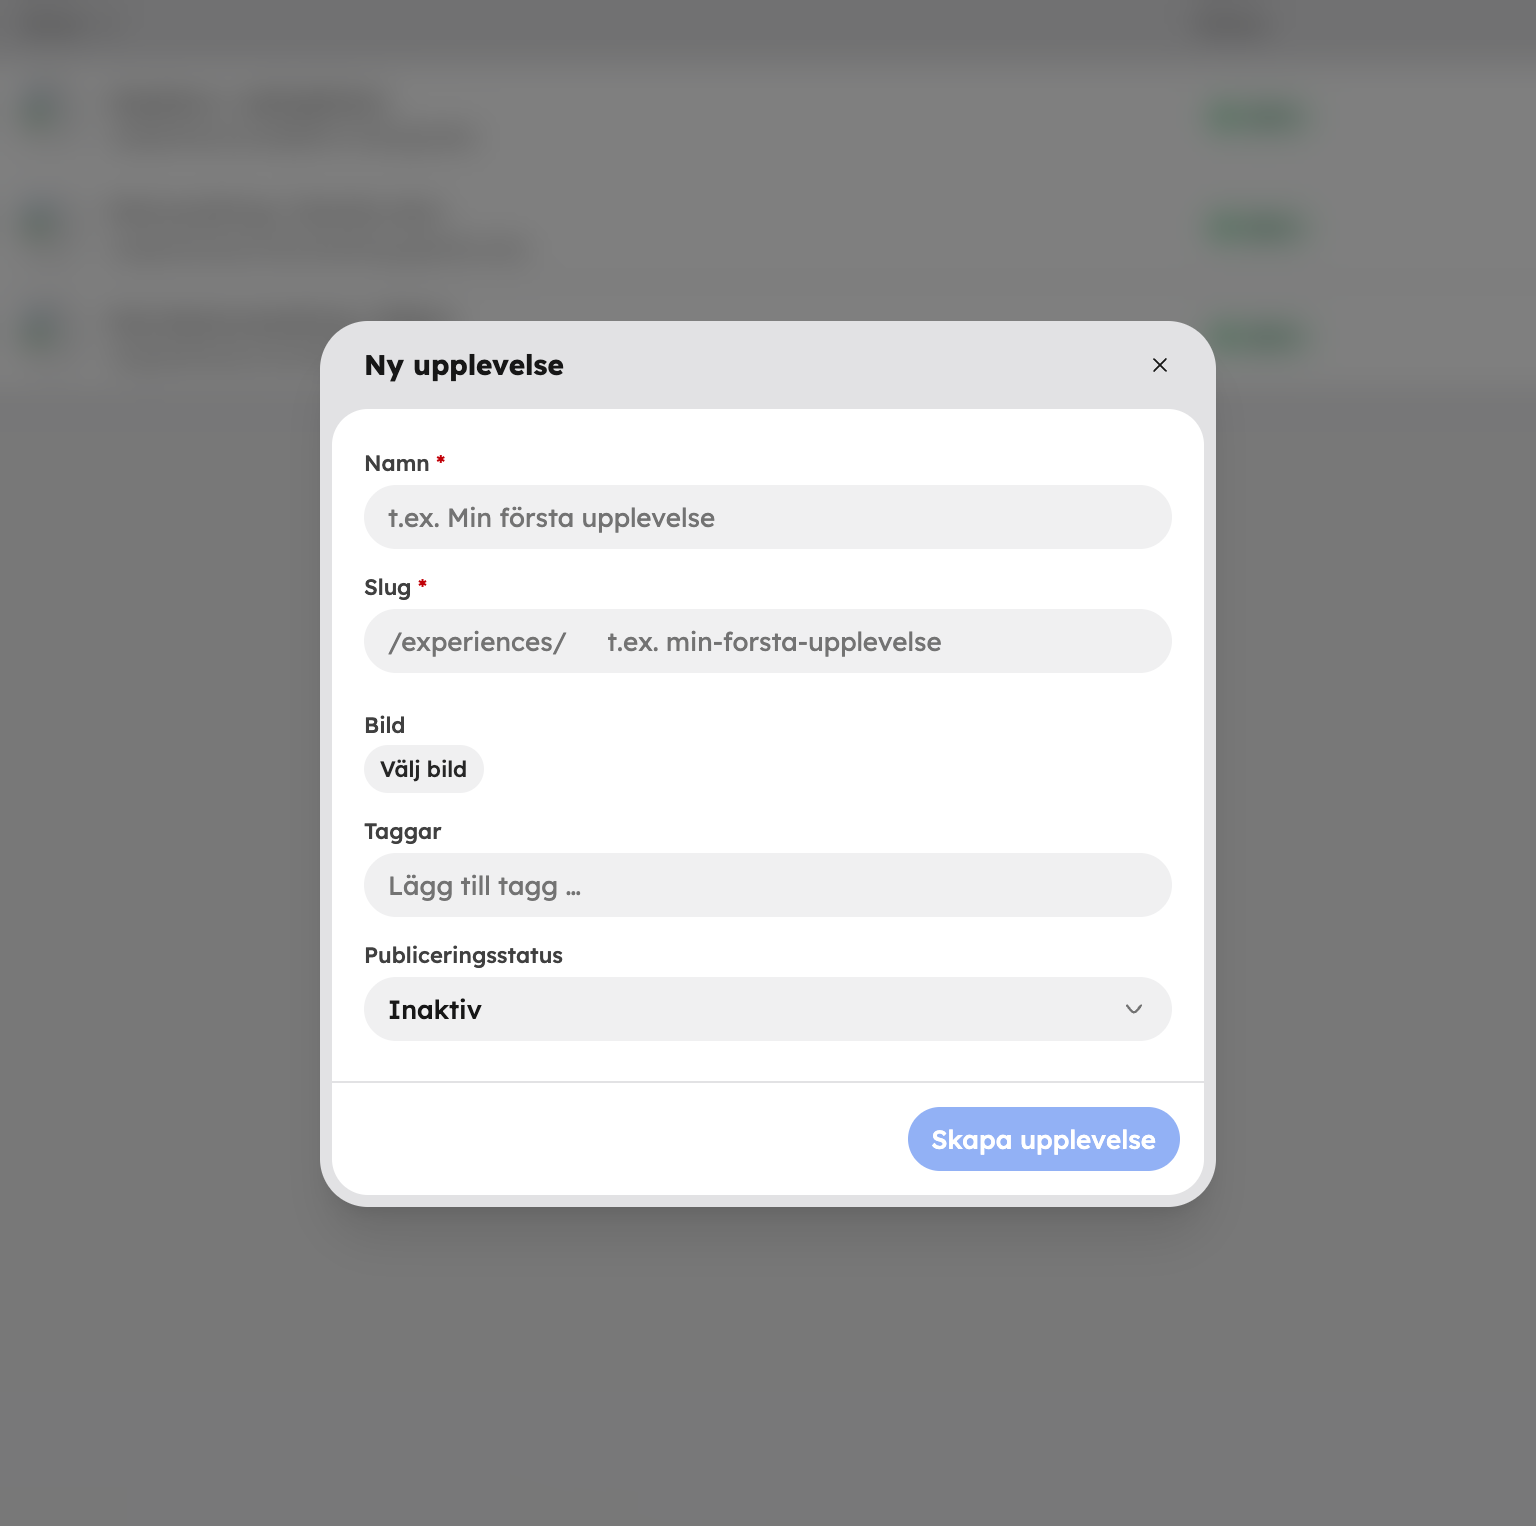
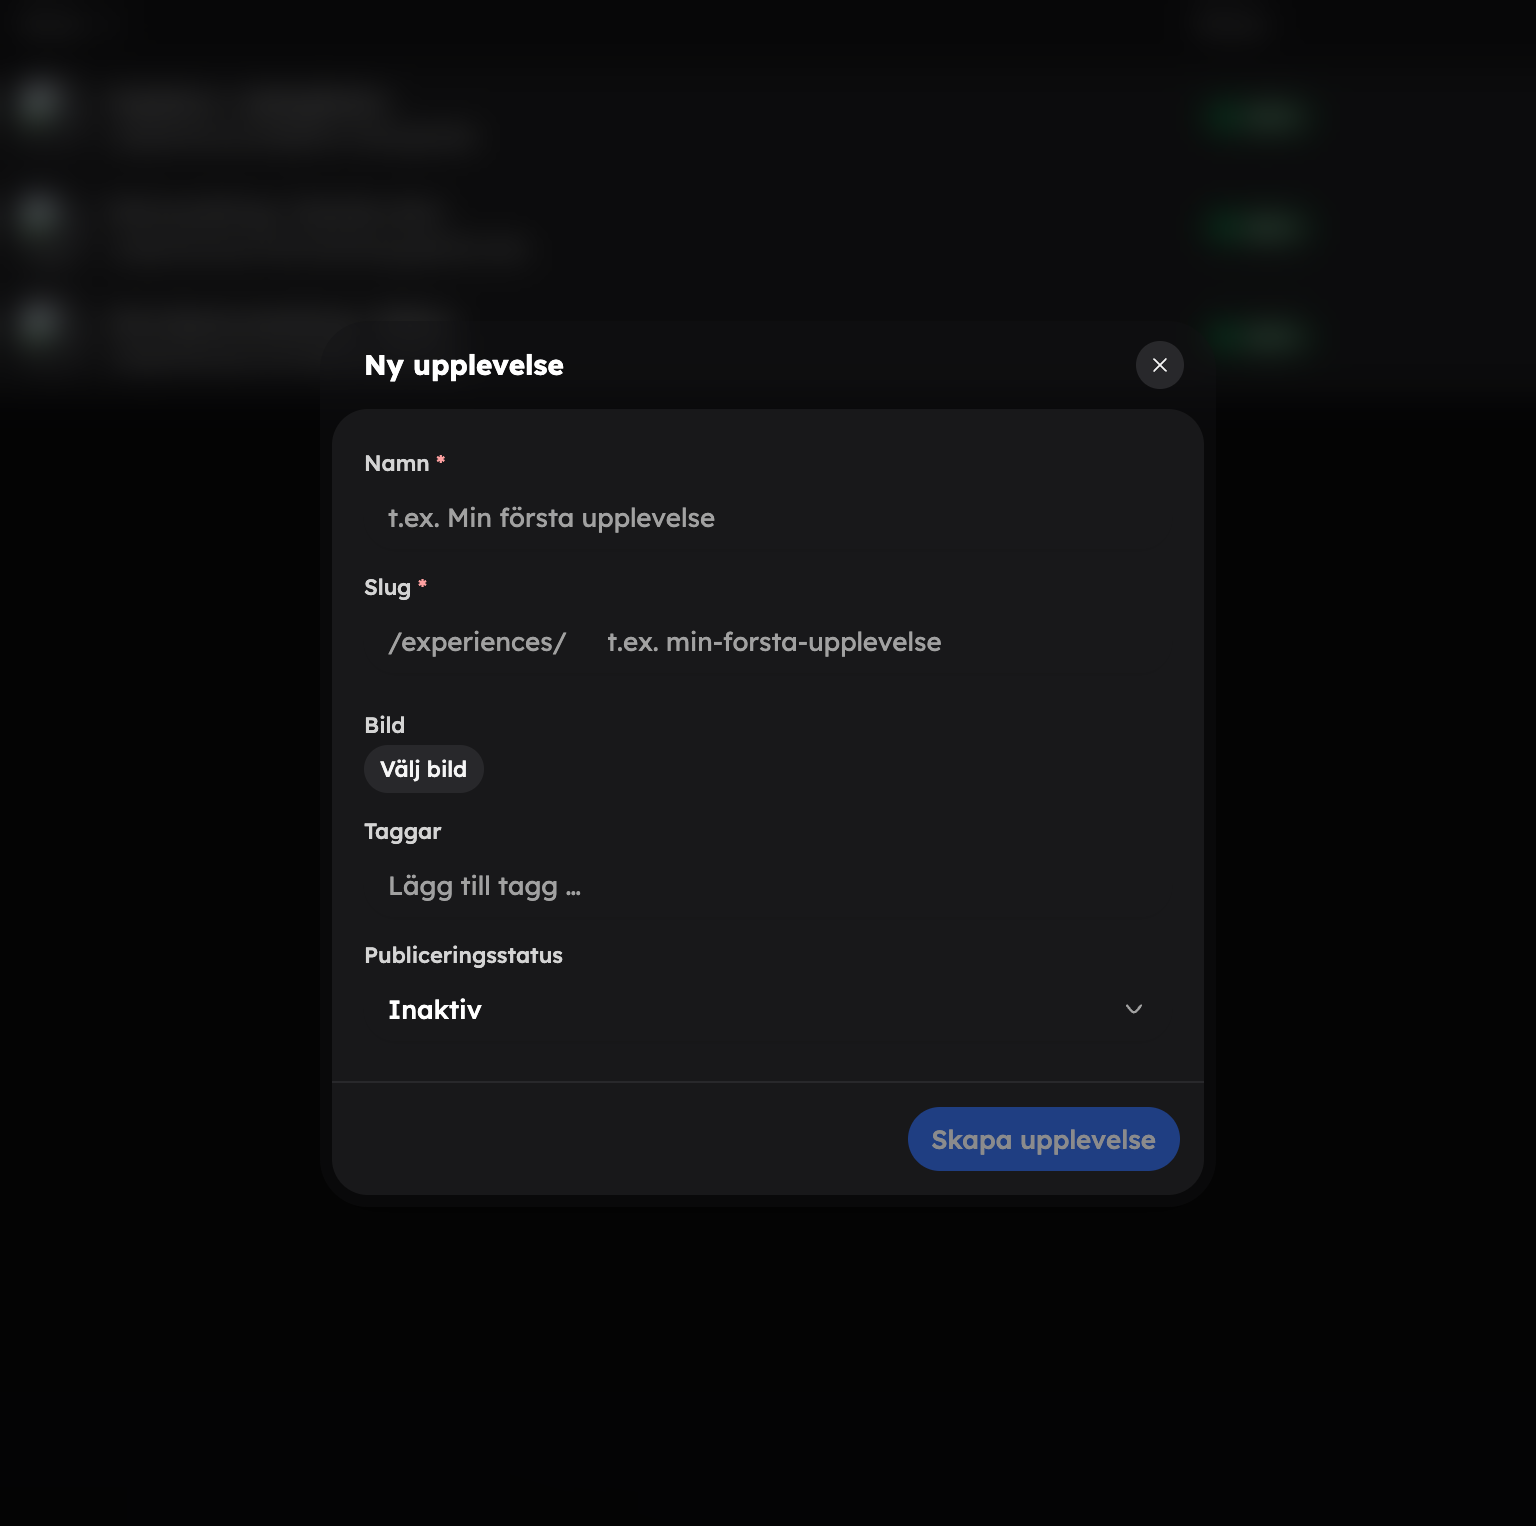
The editor for the experience now opens.
Describe the experience#
At the top of the page you fill in Title, Duration and Description. Write a title and a description that make the customer want to book. The duration is used to suggest an end time when you add dates — if you leave it empty, Awrora assumes one hour.
Under Media you add images and video. The first image becomes the main image.
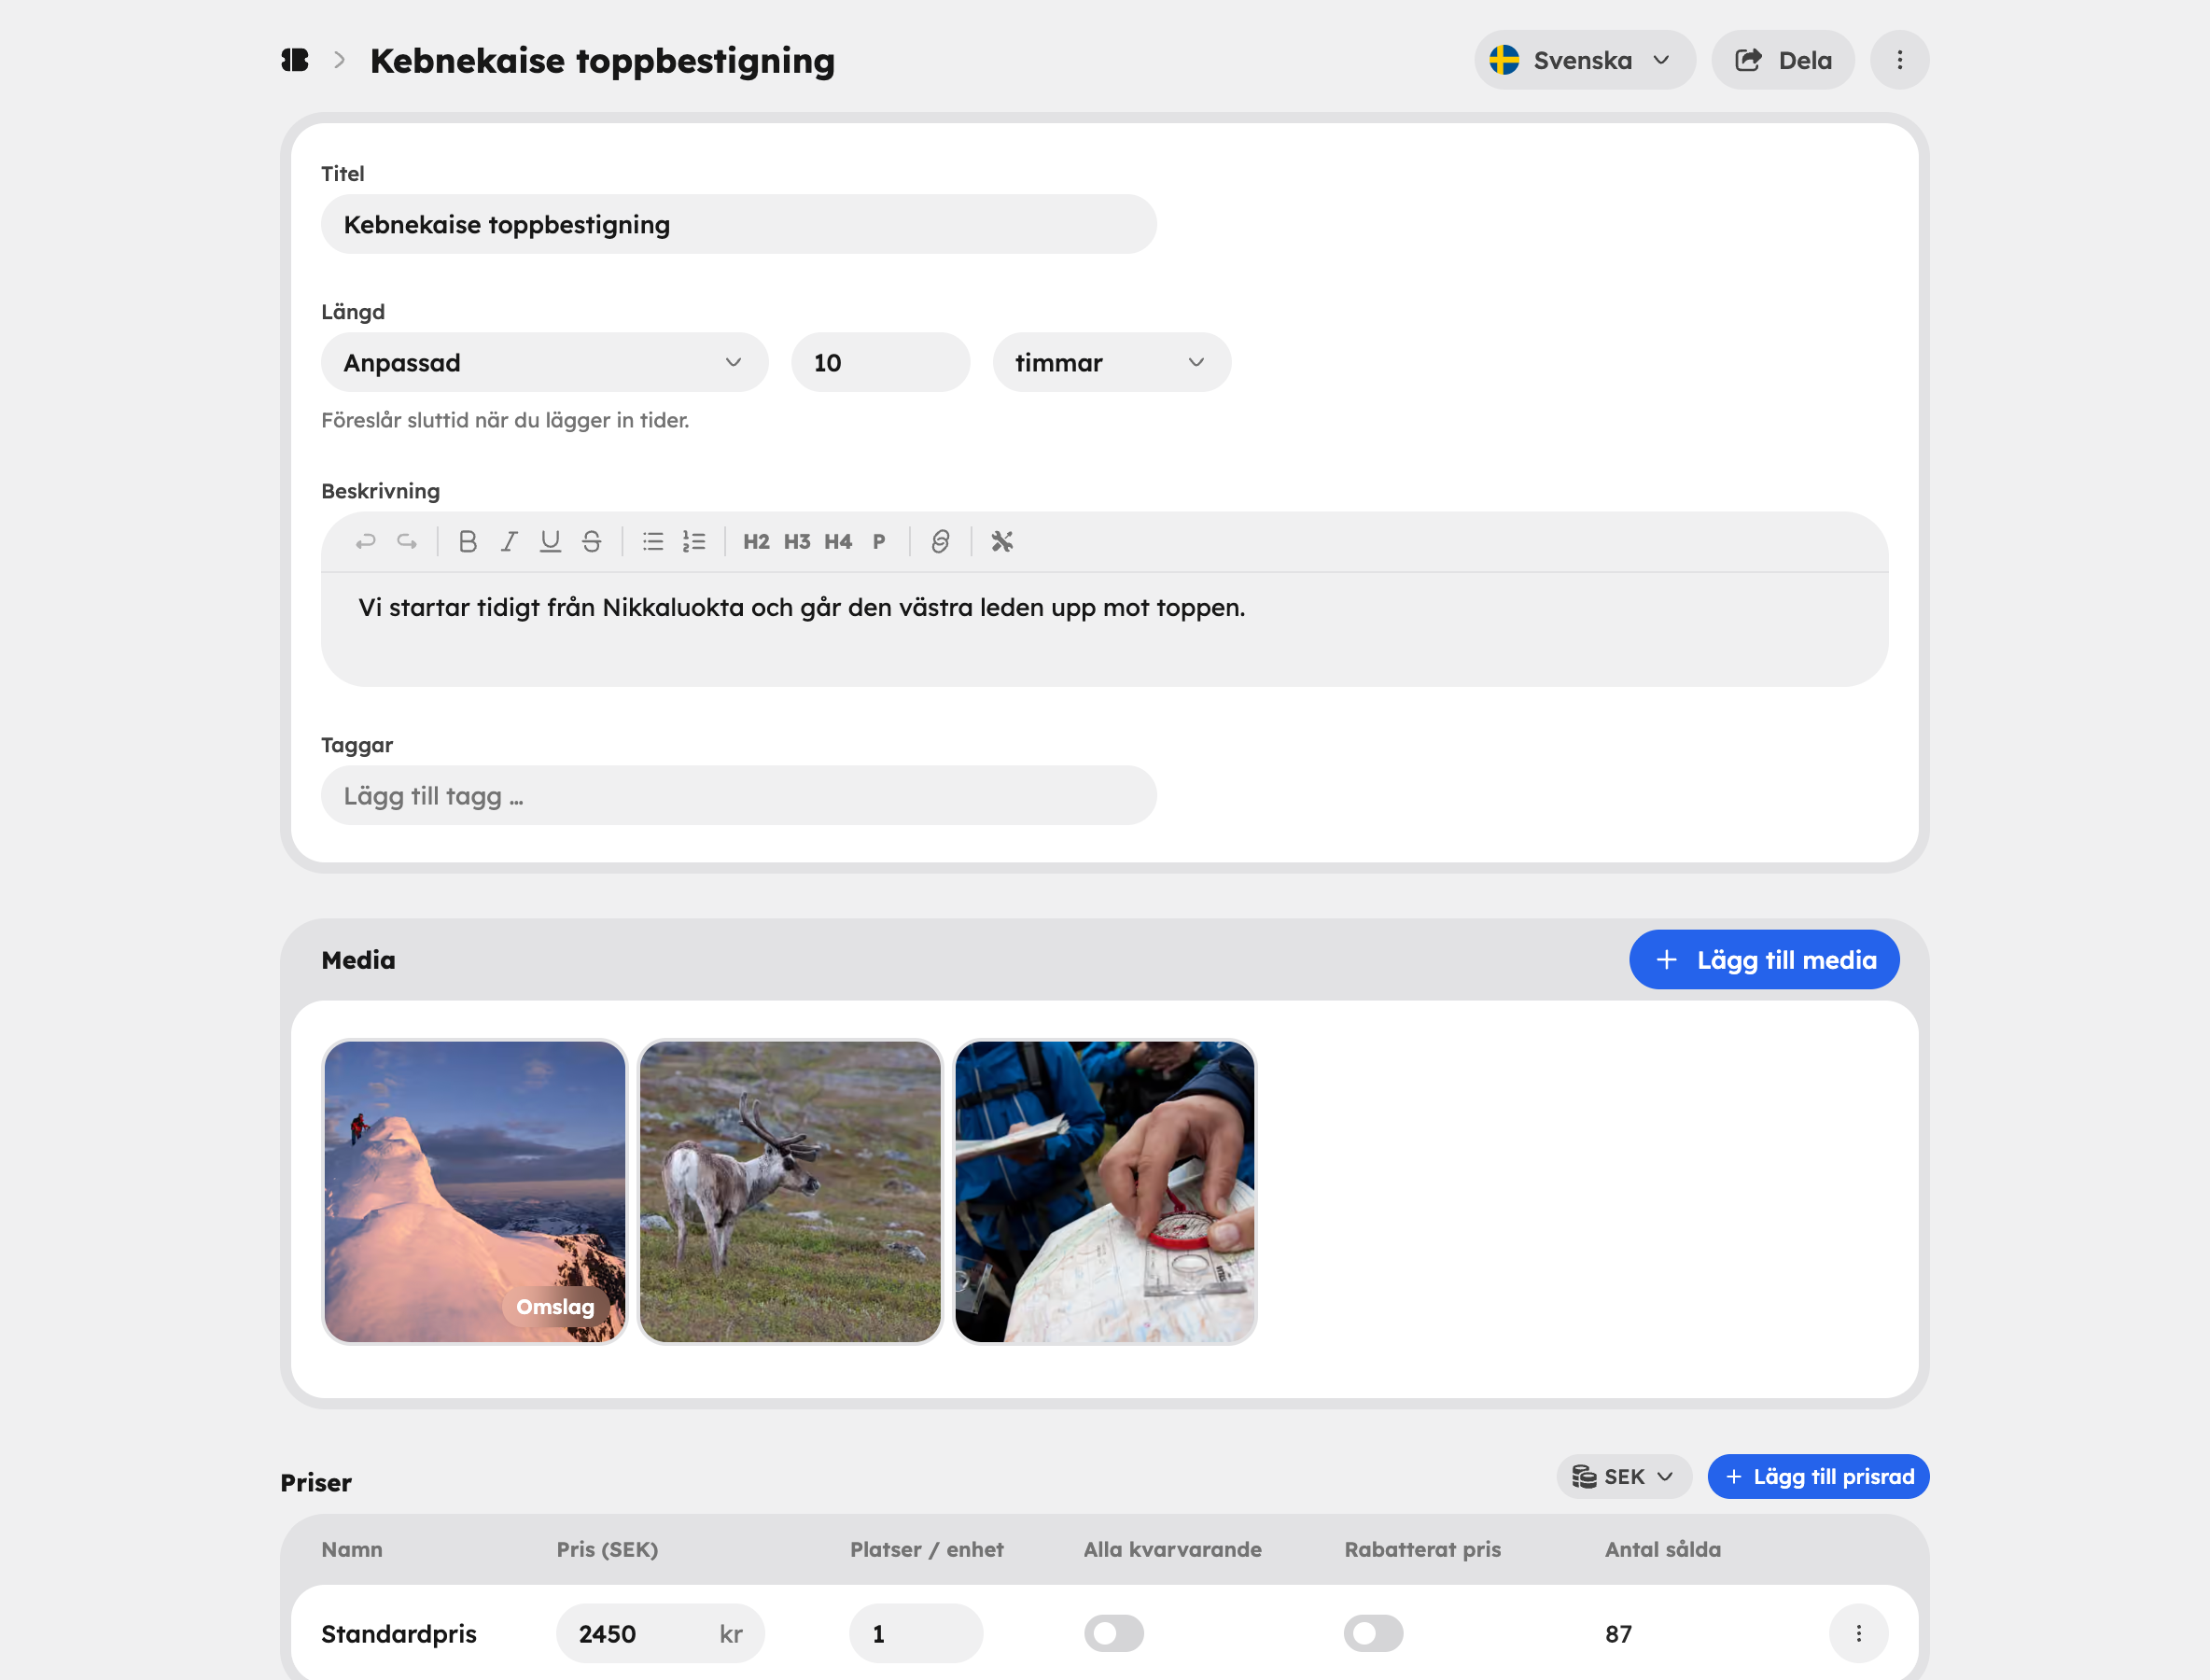
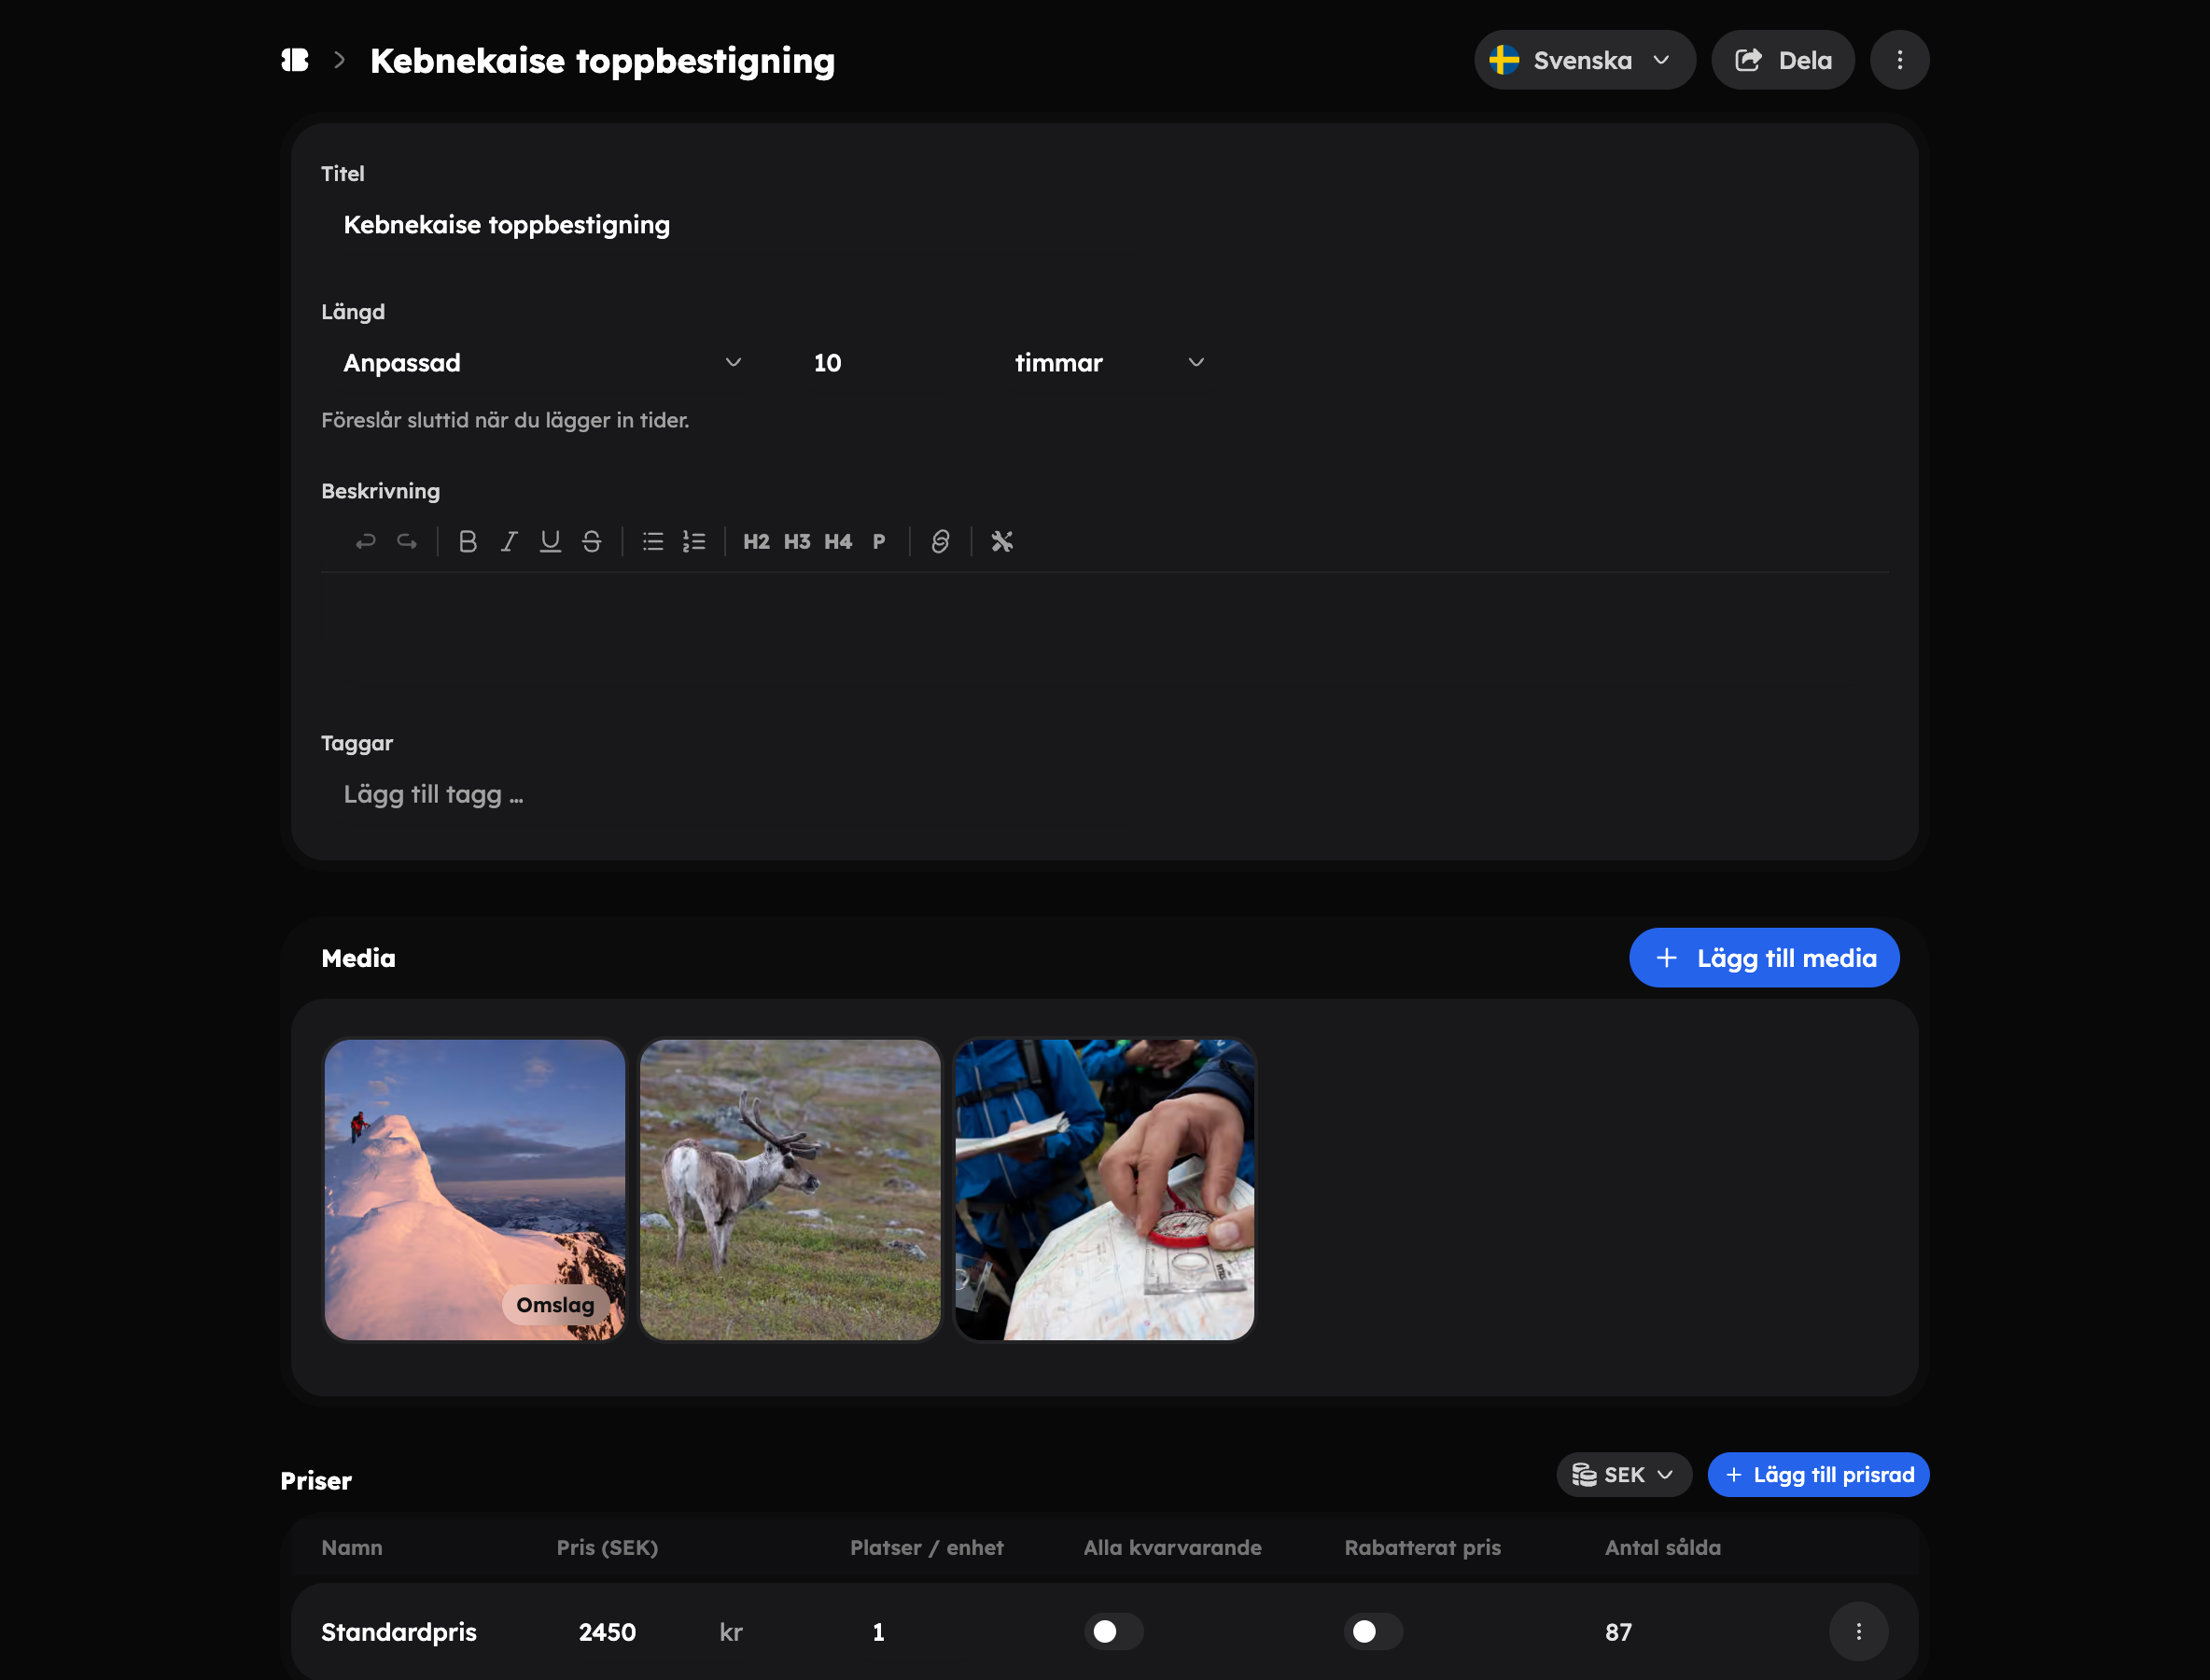
Changes aren't saved automatically. Once you've changed something, a bar appears at the bottom — click Save. It's a good idea to save before you move on to the dates, so that the suggested end time is based on the right duration.
You add more content in the Settings table at the bottom of the page. Each row opens a window:
- Included and not included — what the price covers and what the guest pays for themselves.
- Questions and answers — frequently asked questions shown on the experience page.
- Quick facts and location — short lines with a label and a value, such as difficulty or address. Turn on Show meeting point on map to show where you meet.
You don't need to fill in everything now. A title, a description and one image are enough to get started.
Set a price#
Under Prices you add a price row for each ticket type, for example Adult and Child. Click Add price row and enter a name and a price.
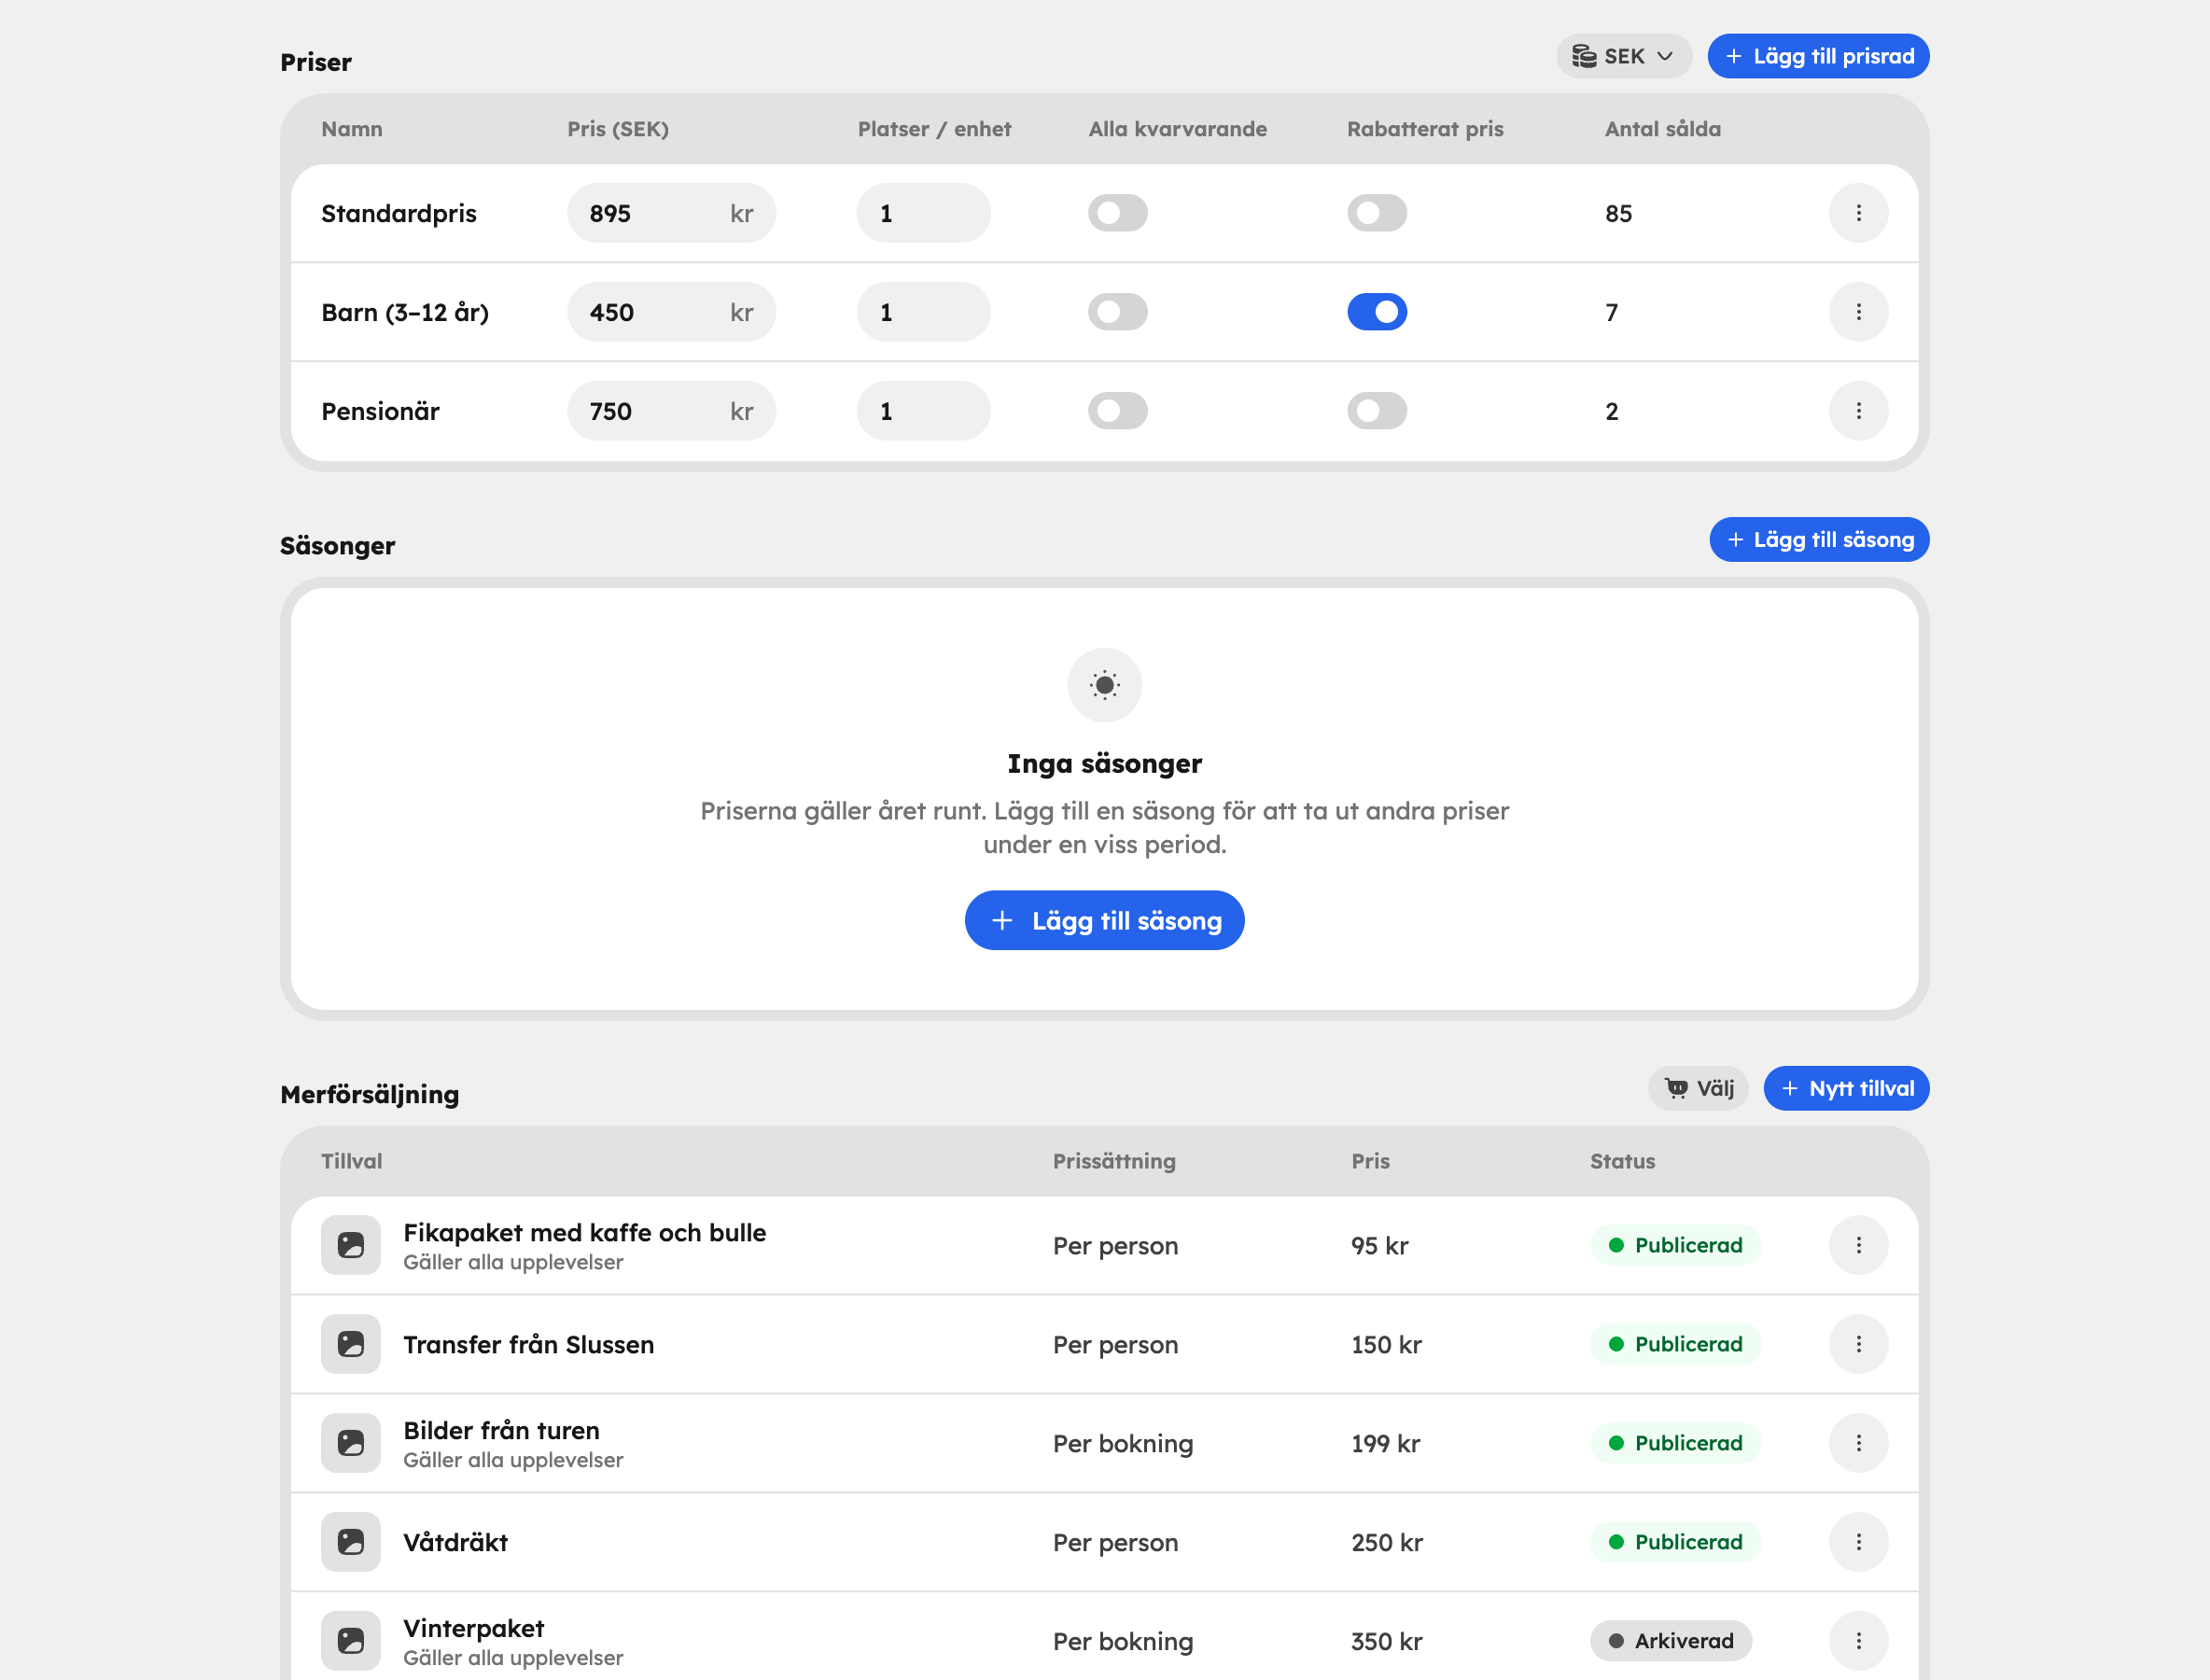
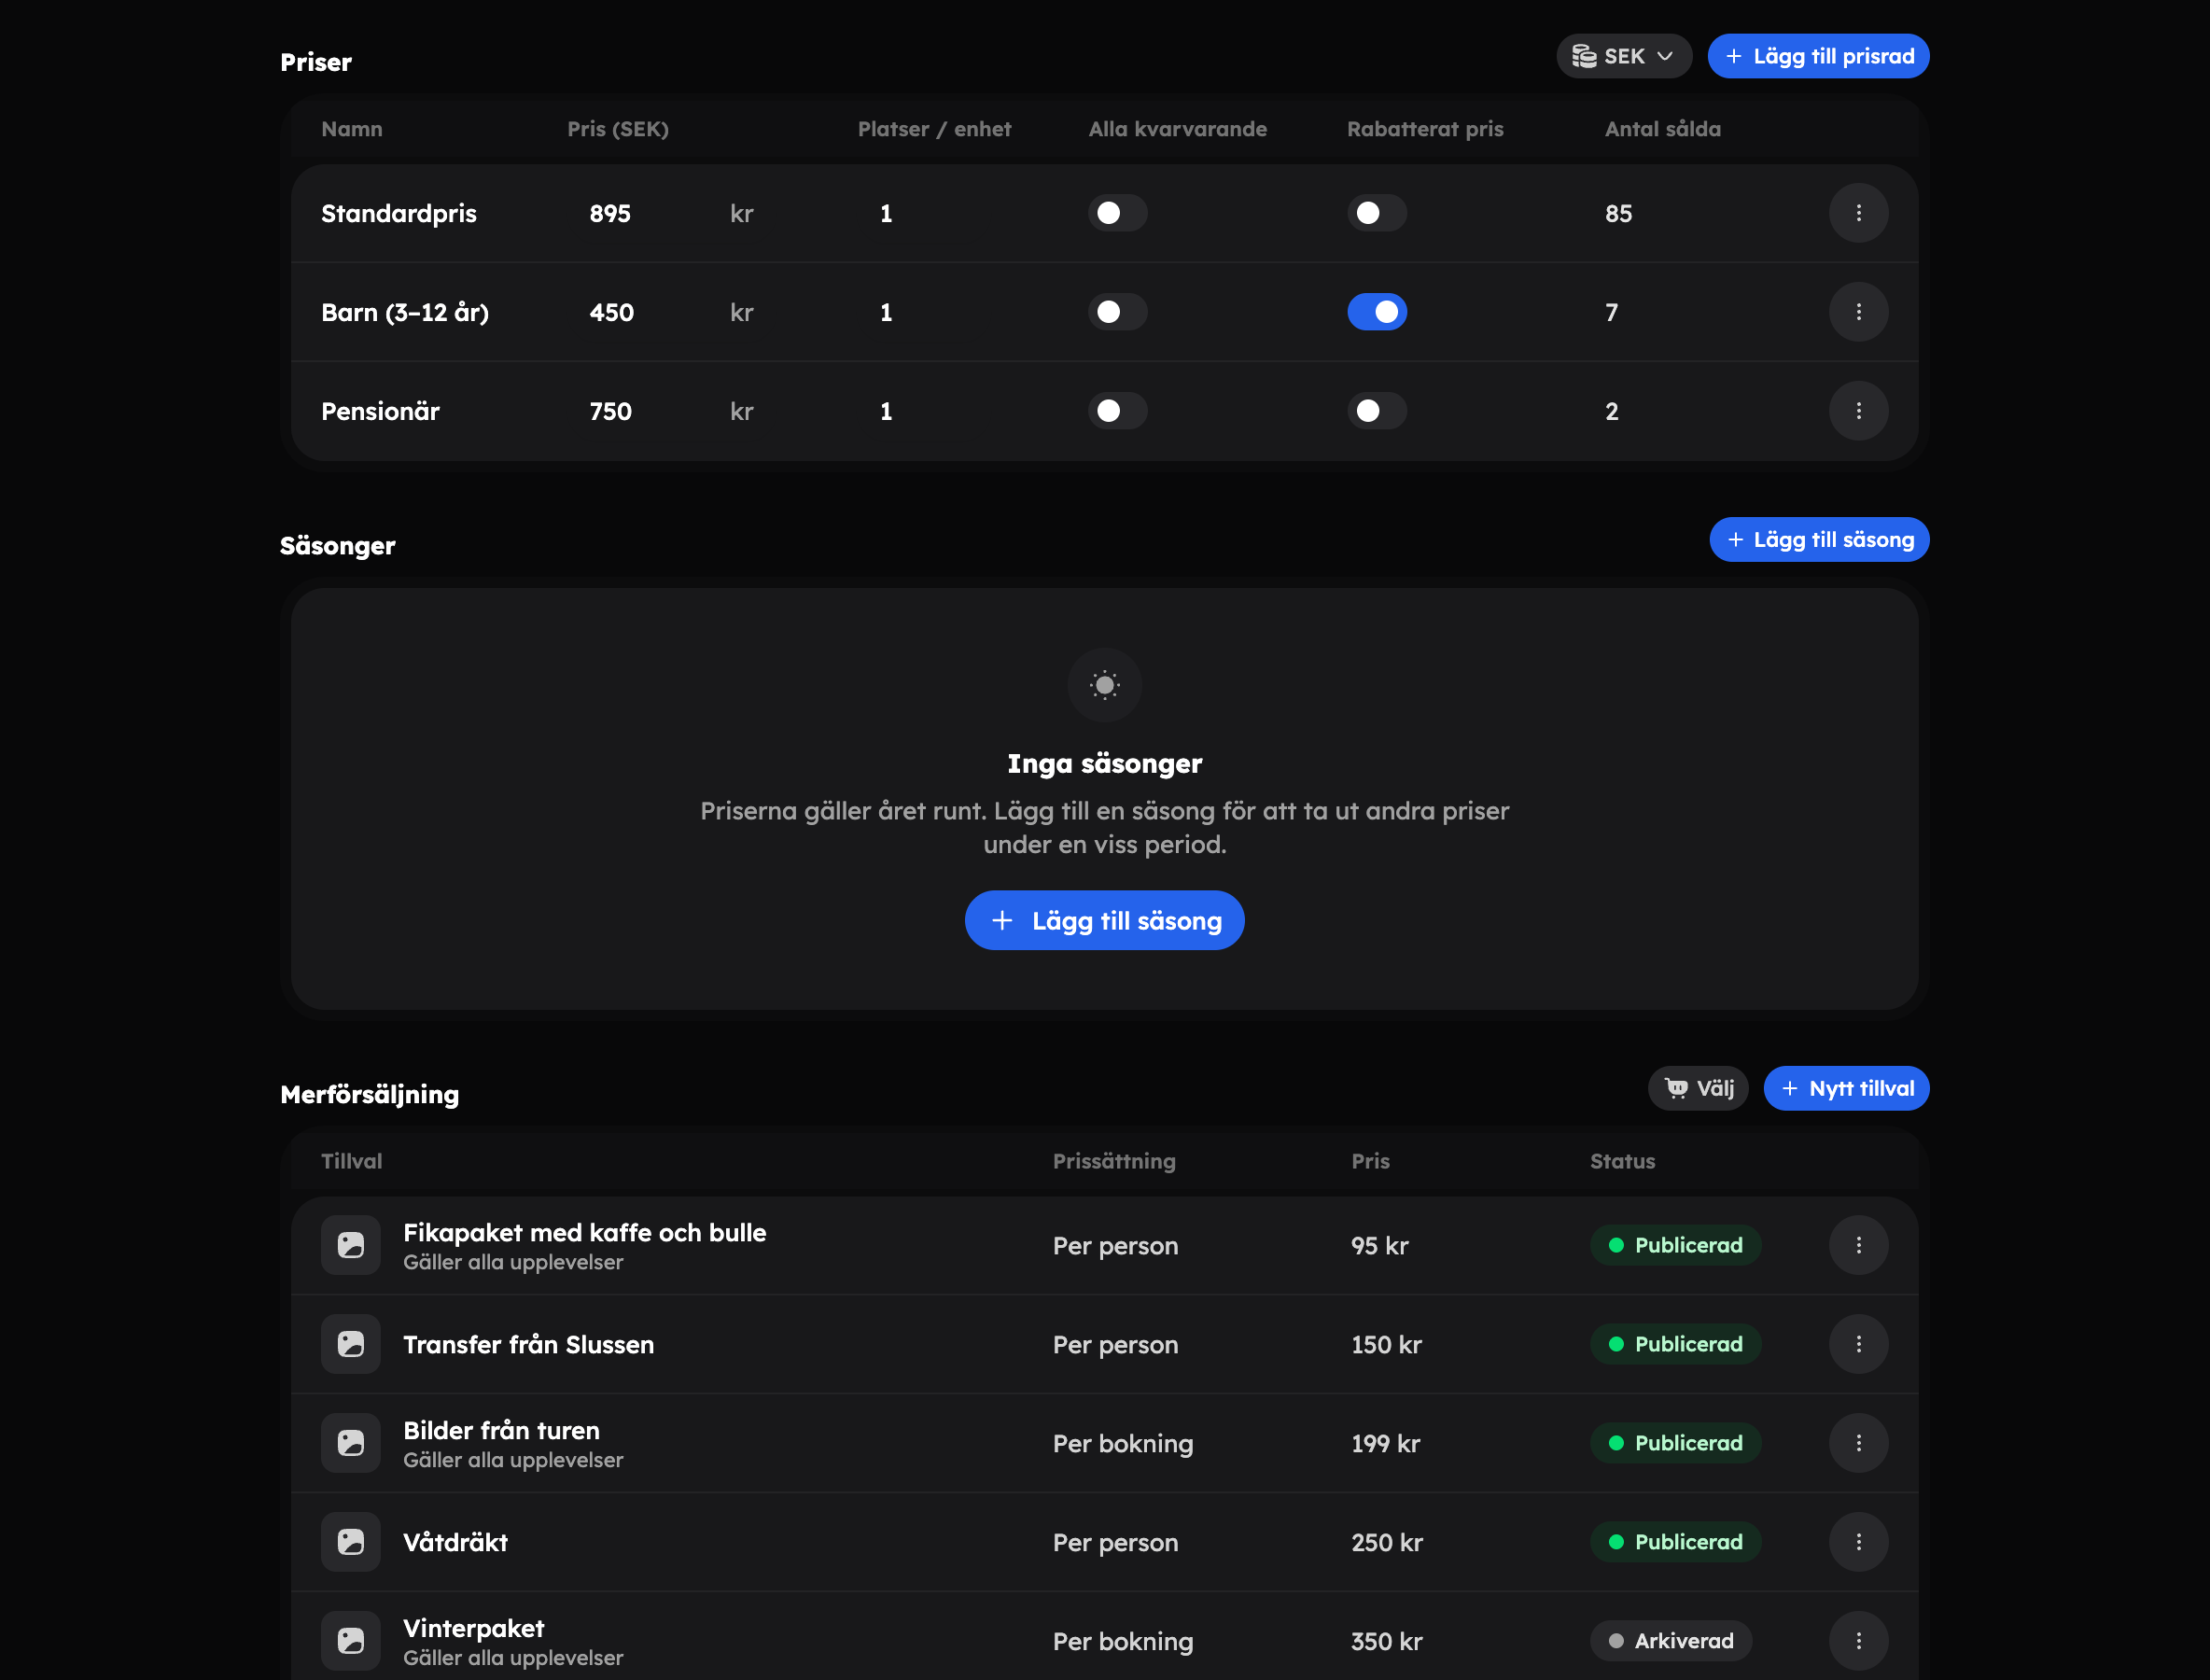
A price row can take up several places — change Spots / unit in the table. That lets you sell family or group tickets. Read more in Prices.
Add dates#
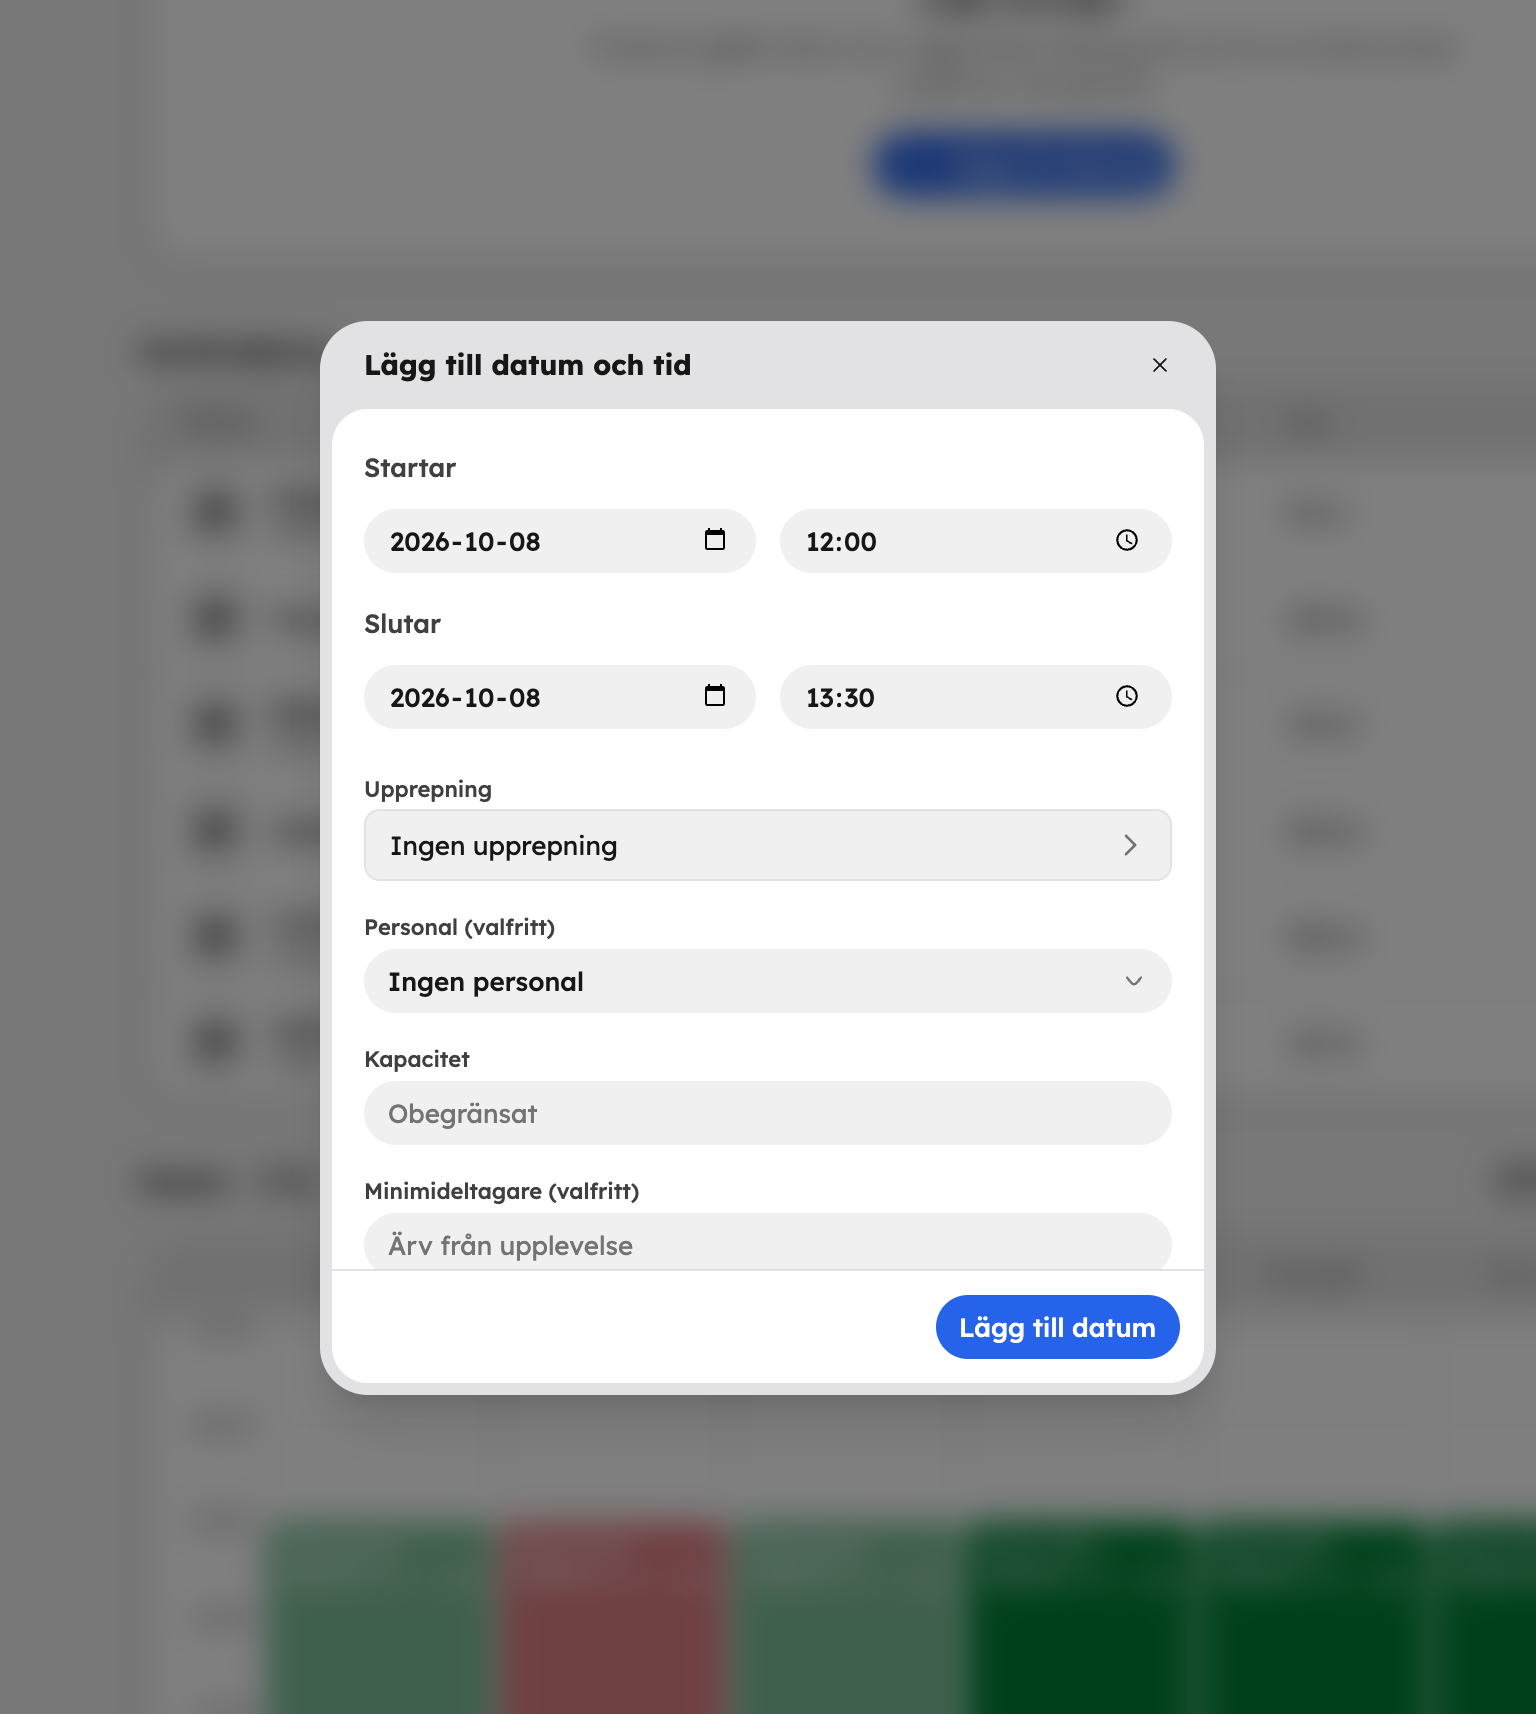
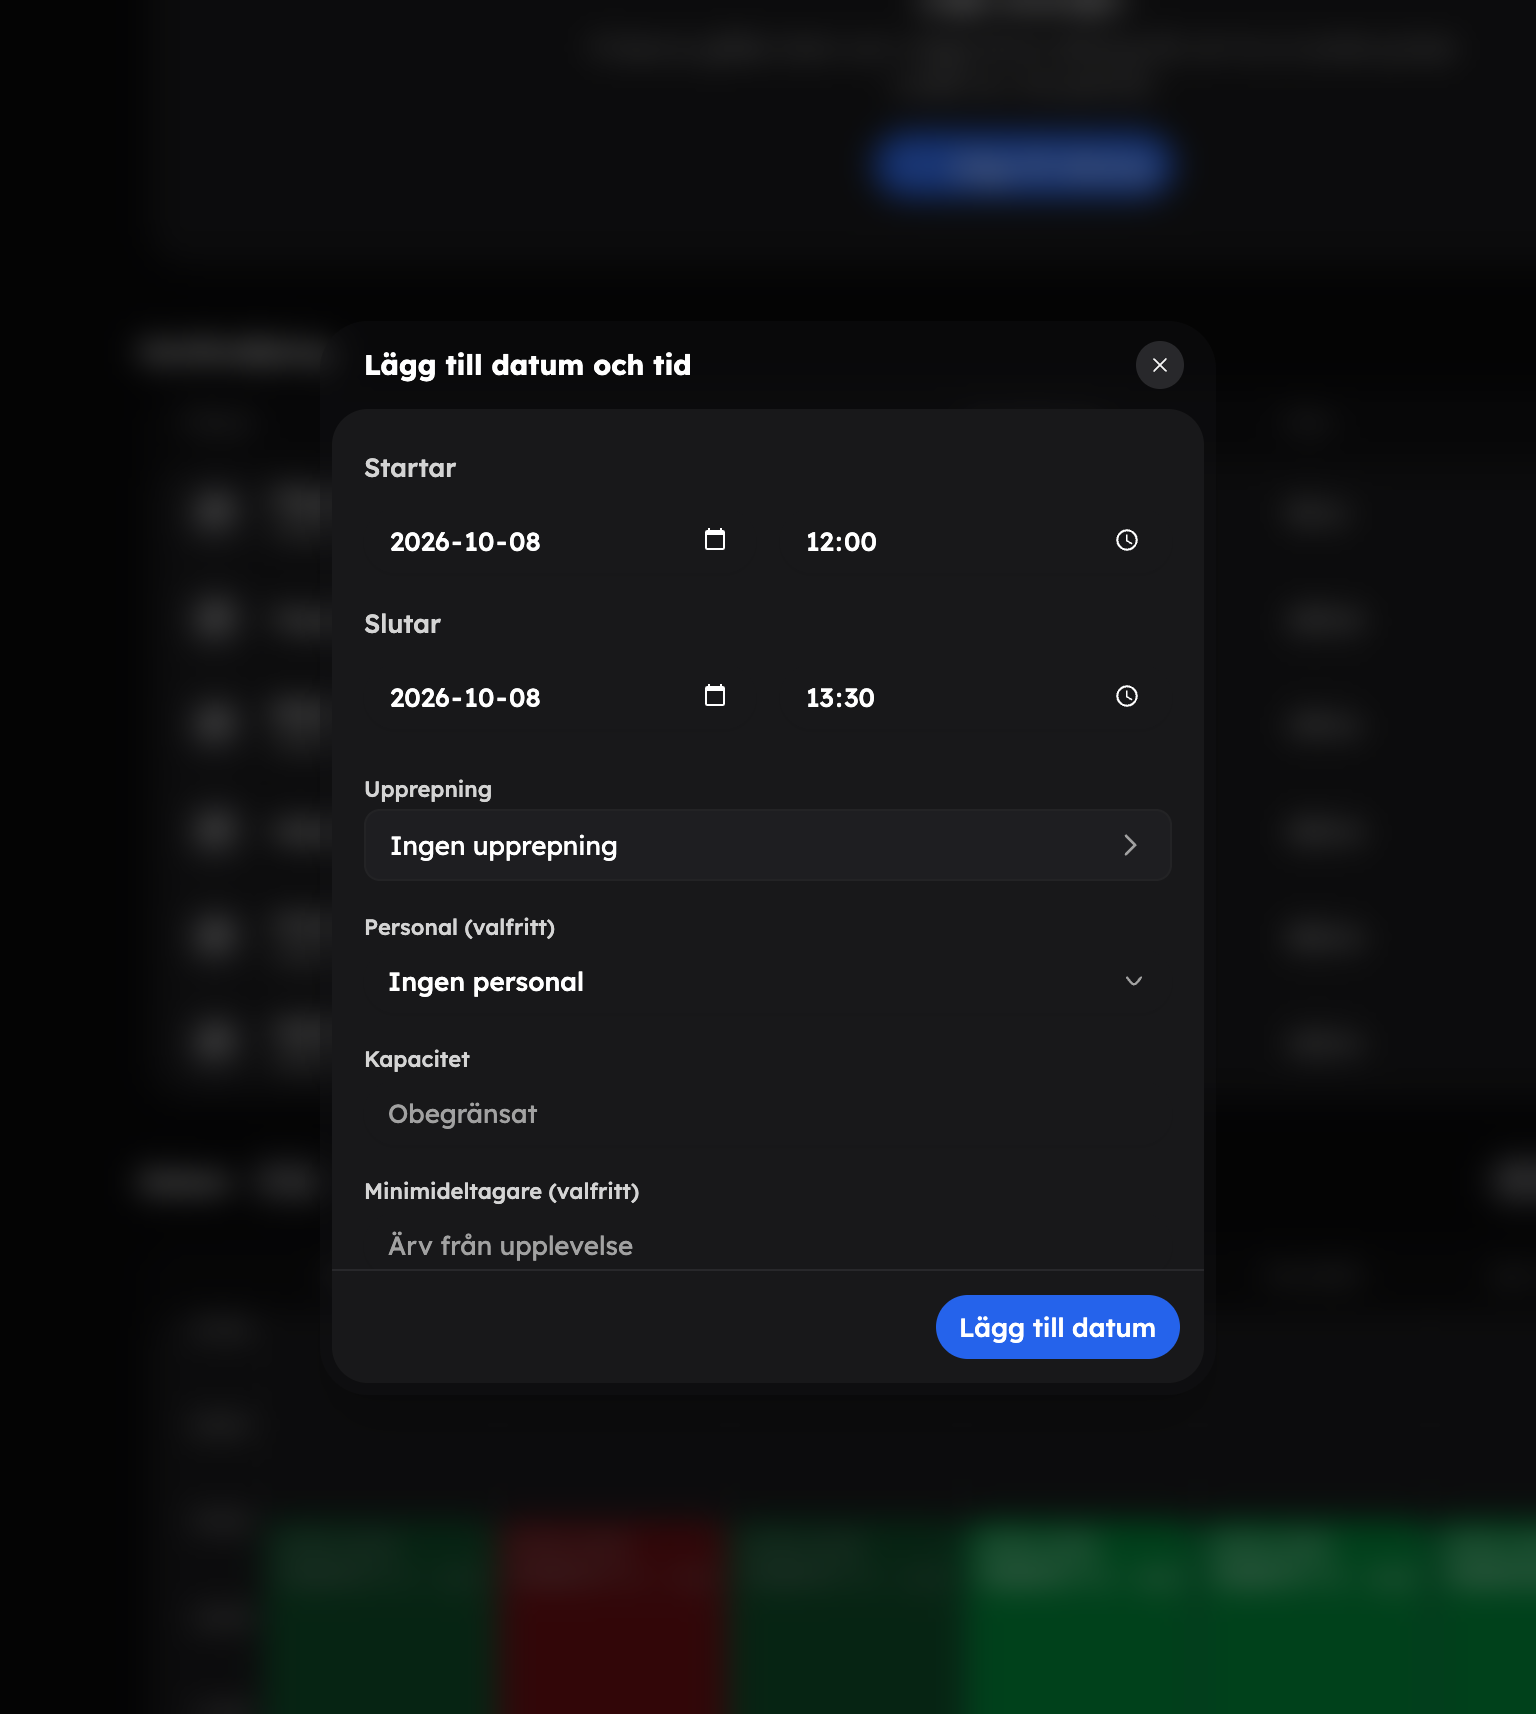
An experience can only be booked once it has dates. Under Dates, click Add date and fill in:
- Starts and Ends — the end time is suggested from the duration, but you can change it.
- Capacity — how many people there is room for. If you leave the field empty, it's unlimited.
- Minimum participants (optional) — if the tour needs a minimum number of guests.
- Language (optional) — which language the tour is held in.
If the tour runs regularly, choose a Recurrence, for example Daily, Weekly or Every weekend (Sat–Sun), and fill in Until. All the time slots are then created in one go. Dates are saved as soon as you add them — you don't need to click Save.
There's more about series and rules in Schedule rules and Time slots.
Publish the experience#
When everything is ready, open the Publishing and SEO row in the Settings table, change Publication status to Active and save. A quicker way is Actions → Activate at the top of the editor, which saves straight away. The experience now shows in your shop and can be booked.
In the Booking rules row you can make exceptions to the company's default rules for this particular experience: when booking closes, the minimum number of participants and what happens when the minimum isn't reached.
Share at the top of the editor copies the link to the experience page in your shop. The link only works once the experience is active.
Next step#
For customers to be able to pay online, you need to connect a payment account: Accept payments.